JohnnyEnglish tutorial Working with UE4 Improved lighting
Contents
Introduction
So far we've only added very basic external lighting. The next stage is to start painting the details into our map with lights.
Lighting is a very personal subject, the object is to light the scene in a realistic manner while enhancing play.
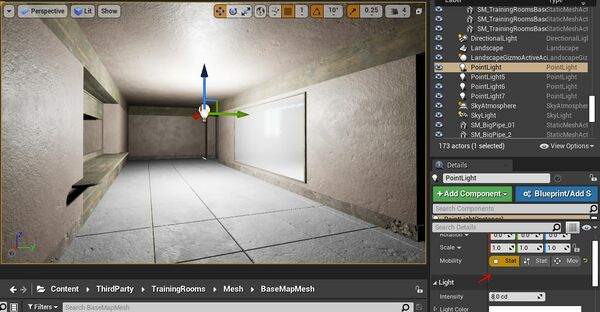
Add some light
My process is to add static, low intensity, not white (some variations close to white are best) lights around the map to first even out any over dark places and secondly to highlight any areas where artificial lighting will increase the intensity.
Adding reflections
So that the reflective and highlights of the materials in your map can be fully calculated, you will need to add one or more Sphere Reflection Captures to your maps.
I tend to add these, per room or per area, try not to overlap Sphere Reflection Captures, adjust the radius as appropriate.
Build the static lighting and lightmaps
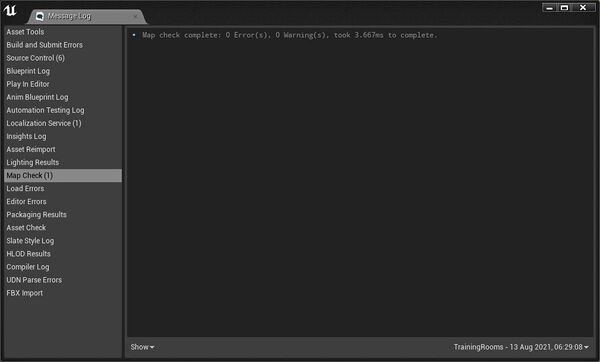
To see the results of your static lighting you will need to use the UE4 Build main menu button. There are a great many options here, to see the best results it's worthwhile using the Production quality builds.
Personally, I'm only happy when after a Build, I have 0 errors and warnings.
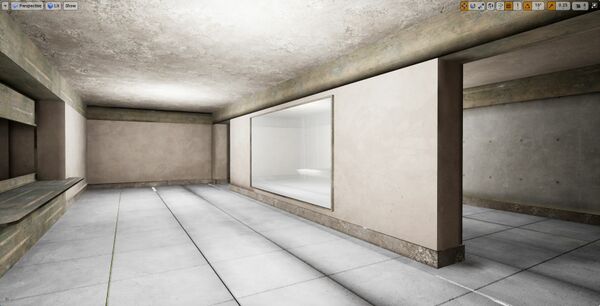
So now we have our basic lighting, it's a little blurry and the shadows feel undefined but we'll fix all that later.
What next?
In the next section, if you're following along we'll be making a simple model for our map.
JohnnyEnglish tutorial Make a Model for the Urt5 tutorial map


