JohnnyEnglish tutorial Creating a new Urt5 map
If you wish to follow along with this tutorial, I have provided a Blender file and a few other items in a single zip file available HERE (NOT YET)
Starting out
Firstly, I'm going to assume you have a fully tested idea for a map, perhaps you've previously built a rough version and tested it on Urt4 and now you want to build it. For this tutorial I decided to make a map very much like dressingroom, a small 2x2 fun map, mirrored.
This tutorial will not teach you how to use Blender or any other 3d tool, but what I demonstrate should be transferrable as a technique to whatever tool you decide to use.
Blank page
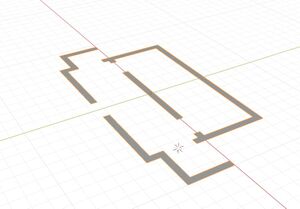
Because I know how large I want the map to be I generally start with a 2d version of the map in blender, start with a plane and extrude it around to get the basic layout. I work with measurement unit's in centimetre.
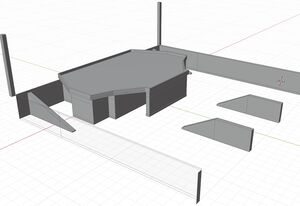
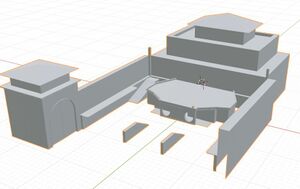
Eventually, the 2d shape can be extruded to make walls, then ceilings and roofs constructed, as a single mesh or as multiple parts, whichever is easiest.
Personally, I like to test out my work in a game environment early on during development, your views may differ, you may decide to perfect your map before moving it to the next level but I prefer to know in advance of adding detail of any problems so I can change them easily with relatively blocky work. For me mapping is very much an iterative process, I know version 1 will look terrible and that version 32 will look outstanding. The workflow between your 3d editor (Blender in this case) and UE4 is such that it encourages this iteration so that updating mesh with more detailed mesh is relatively simple.
I would suggest working your map to this level of detail and no more before proceeding to the next stage (chopping up)


