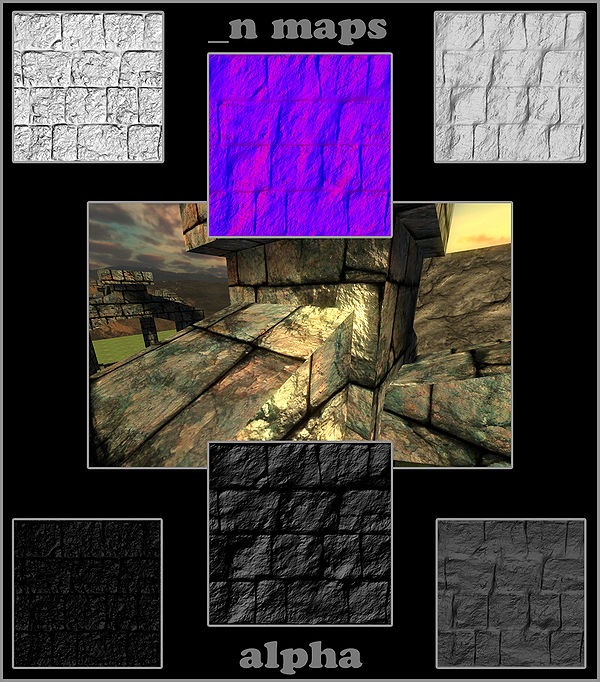
Bump mapping for Urban Terror
After seeing some screenshots from other people who tested UrT's bump mapping feature i wanted to try it out myself and see what results will i get.
First thing i needed was a good normal map generator. After few days of searching i settled with Crazy Bump.
Quality of normal maps generated by this tool is excellent. You can adjust pretty much anything you want. From intensity (depth of the map) to full control over details that will be shown on the map.
After that i used Photoshop CS4 to edit the normal maps and their alpha channels to suit my needs and desires.
So let's start with the first one.
Contents
Bump map
I can't say I'm too happy with how bump maps work. The specular level is visible in shadows, and it's impossible to create it by simply deriving a gray scale, high contrast image from the original diffuse map.
Instead i used the basic _n map and did the same to it. It contains all the height map info i need and was much easier to tweak to get some...satisfying results.
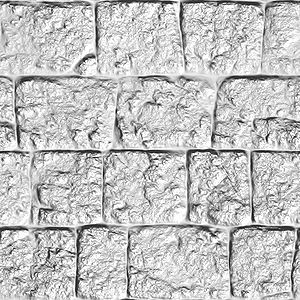
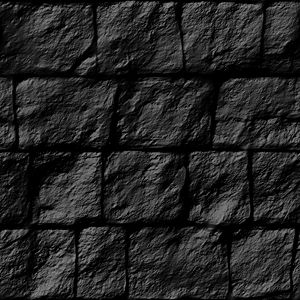
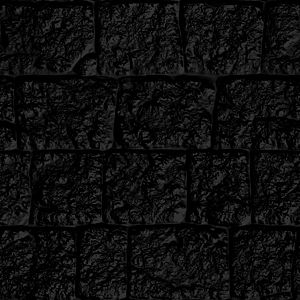
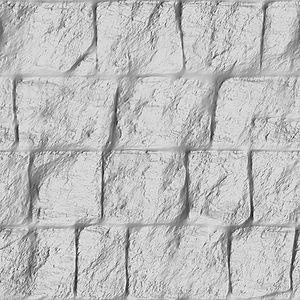
On the left is the _b map and on the right is the alpha channel.
I'm under an impression that best results are achieved by blurring the _b map and sharpening the alpha channel.
Normal maps
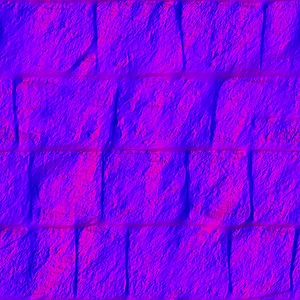
Here the real fun started. After several tests i realized that each of the 3 channels (R,G, has it's own function. Red and green seem to control the vertical and horizontal distortion while the blue channel controls how shiny will the texture appear.
However red and green channel constantly looked as if they're creating an offset from the diffusion map. Specular level always looked like it's not right on top of the diffusion map and no matter how i adjusted the alpha channel it kept looking like a bad plastic wrap effect. After removing or better said painting the red channel black the green channel managed to burst out and give me very nice sharp specular level.
Alpha channel itself had to be carefully tweaked to lose areas that are too bright and still preserve high contrast. I achieved that by selecting each channel separately and then using the paint bucket painting it in exact shades of gray.
After that i sharpened it a bit and raised the contrast to remove whatever little specularity was left in black grouts.
Parallax occlusion map
This map is something i came across of by accident. I desaturated the basic _n map and added an almost completely black alpha channel.
Results resemble parallax occlusion mapping and are quite interesting.
'"`UNIQ--youtube-00000000-QINU`"'
Additional (for gimp users) by JohnnyEnglish
Rayne - you are a genius, you've advanced my knowlege another step. Taking your idea of the blue channel providing the shine I did this.
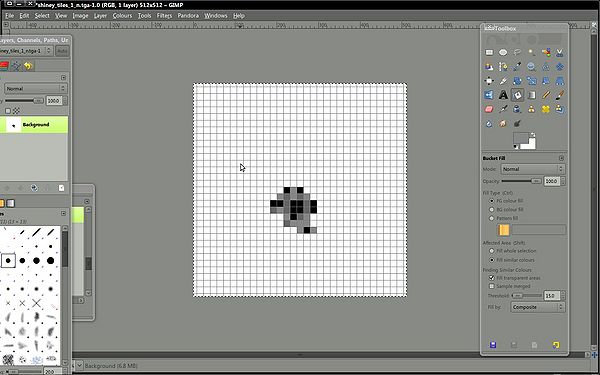
Made a grid and coloured in a few blocks with either grey or black, the grid was drawn using a mid grey.
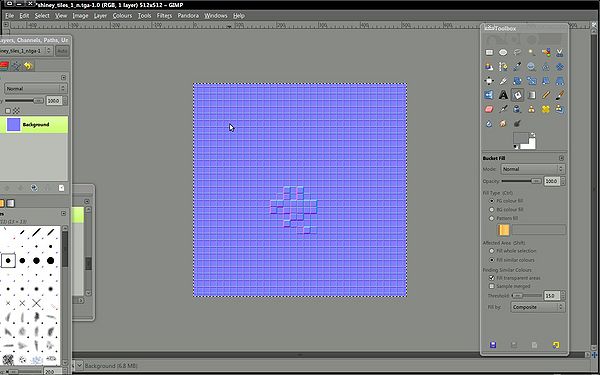
And then I made a normal map using the gimp plugin - for more about this see Textures:Advanced_Normal_Maps_Creation
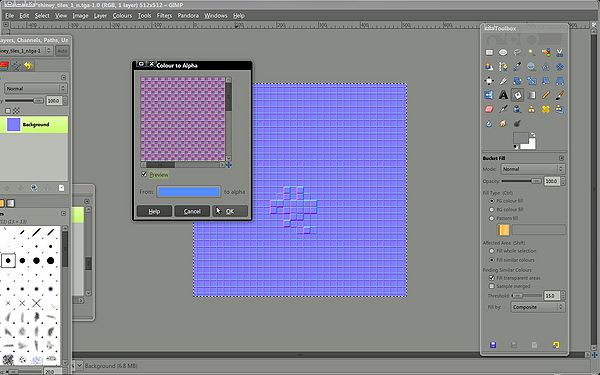
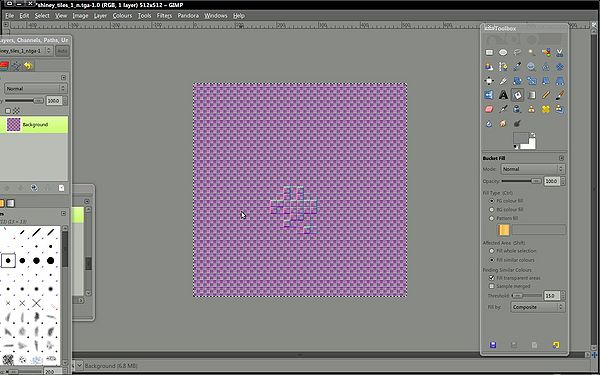
Then selected to make a similar blue to the normal map blue transparent, but left all the others.
That gave me a normal map that looks quite red.
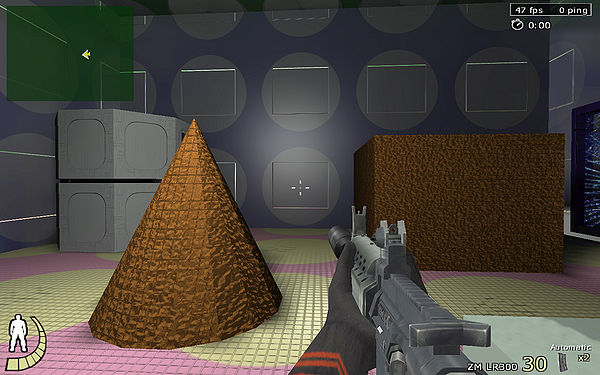
In game the texture has very little shine BUT a lot of height.
