Difference between revisions of "Mapping:Create your first room"
(→Where to start) |
(→Create your first brush) |
||
| Line 55: | Line 55: | ||
| | | | ||
| − | [[File: | + | [[File:Tut12.png|500px]] |
|} | |} | ||
Revision as of 07:46, 27 August 2011
Before you start
|
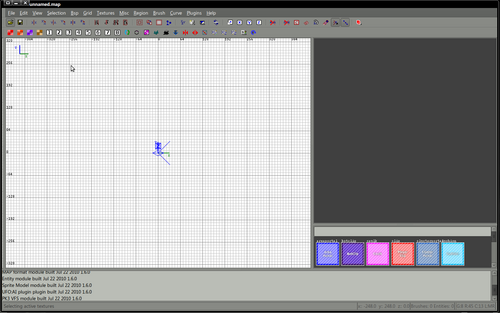
I'm assuming before this tutorial begins that you have a correctly configured radiant, it doesn't matter which, the principles are pretty similar in all versions. If it doesn't look slightly similar to this or If you've not yet configured radiant please see one of the sections about installing If you're happy that your radiant shares similarities with the image above you may now close radiant, it's not required for the next 10 minutes, we have to prepare. Before you begin any mapping project you should choose a name for the project and create an empty folder in your textures folder with that name. For the purpose of this tutorial our map is called myfirstmap, it's short and snappy and easy to remember. Create a folder in your mapping/textures folder called myfirstmap Find your shaderlist.txt file, normally this will be in the mapping/scripts folder. Open this with a text editor. Somewhere in this file, add the single line myfirstmap Confirm that there is a line which reads common if not, add one. Save the file and close the editor. |
Where to start
|
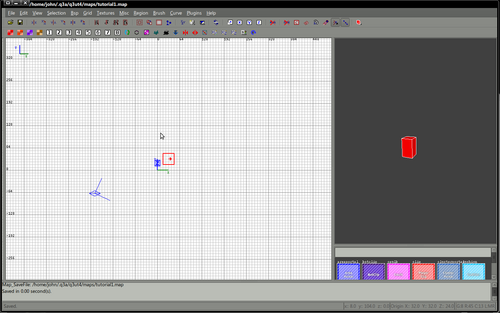
Right click on your 2d view - the entities that you can add to your map will be listed. We will add an info_player_start, so select the info -> info_player_start This will add a small (possibly red) rectangle to your map. You should now be able to move this item around in the 2d view by dragging with the mouse. You can change the view between XYZ views using Ctrl+Tab. Move the info_player_start so it's where you'd like it to be. |


