Raynes normal map tutorial
Contents
Creating a normal map
You can create a normal map using several programs and plugins, for this tutorial Rayne describes the process of using Crazy Bump which is for Windows only. An alternative method is described by Rylius for gimp users. How to make a normal map using Gimp
It's also possible to create normal maps using 3dsmax and blender.
If you already have a normal map generated you may skip the first section.
Creating a normal map with Crazy Bump
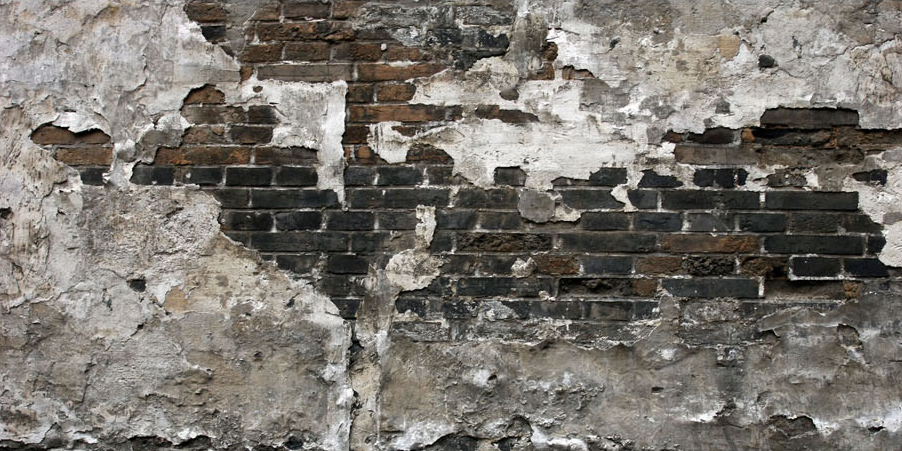
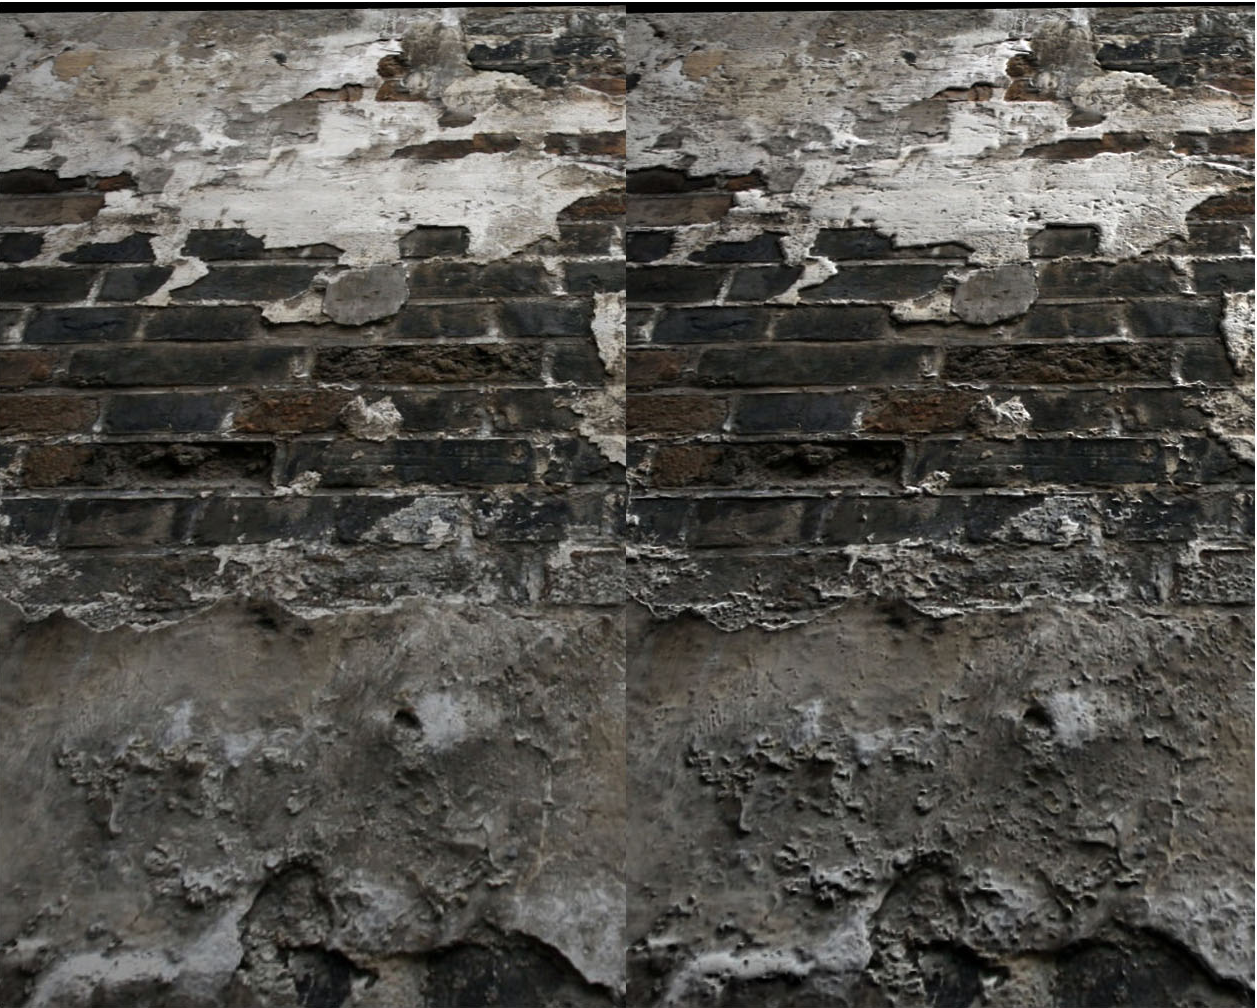
First thing we need is of course a diffuse/colour map. For this tutorial I will use a brick and plaster wall texture I made recently.
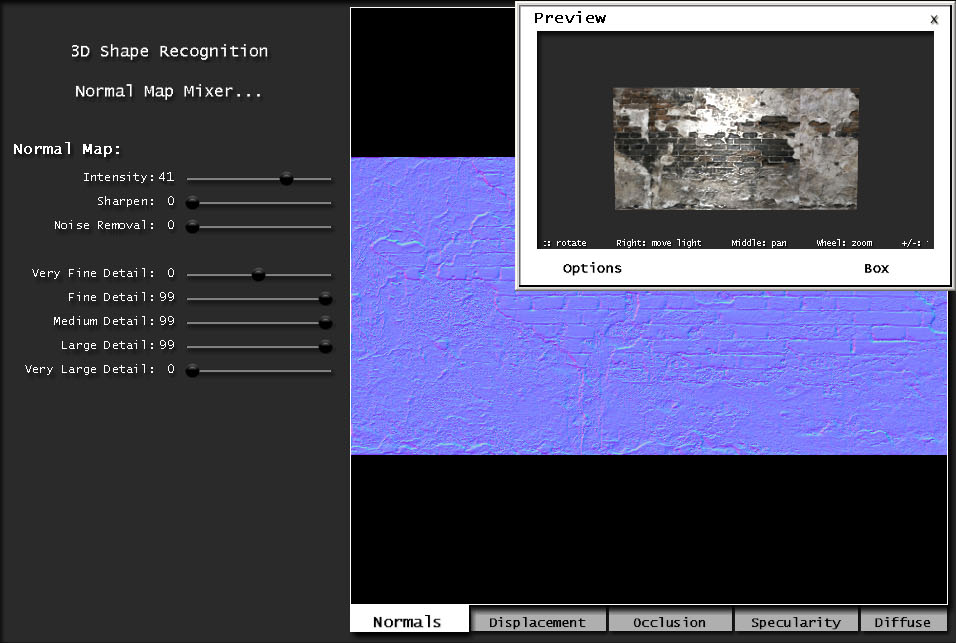
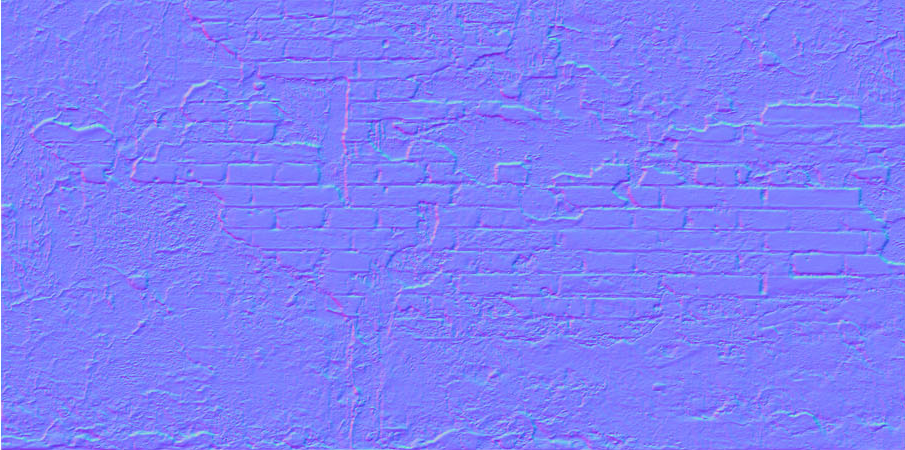
The next step is to generate a normal map. This can be done in a variety of ways but I prefer Crazy ump, it comes with a 30 day free trial which includes full functionality.
Once we start Crazy Bump we can drag and drop a diffuse map into the main window, Crazy Bump can be unstable if files are imported using the file browser.
When we drag and drop our image we will be given 3 choices.
- Open as photograph - which will try to identify what is high and what is low through the colour information. It has a "shape recognition" slider which is supposed to help the process of identification. Do not use this for textures that represent flat material like metal or concrete.
- Open as heightmap - This does a simple thing, it turns the diffuse map to a grayscale map and then determines what is high and what is low. To me, this option works the best, especially if you want to add fine details.
- Open as normalmap - For me, this was only useful to generate a cleaner height map for parallax mapping and even then it's questionable if it will do a good job.
Don't rely too much on the 3d preview, Crazy Bump renders normal maps quite differently to urt. Small details often look good and when you load it in urt the end up looking crap.
Now we have to edit the normal map and generate the alpha channel for it. For the alpha channel I will be using a specific element from the normal map and combine it with the diffuse map.
Editing the normal map to make it suitable for urt
So, now we have our normal map it's time to edit a little.
Here are some facts about the normal map
- Red channel controls the horizontal axis details
- Green channel control vertical axis details
- Blue channel in 3dsmax controls depth but in urt it actually adds occlusion
So we will now use this channel to add some occlusion that will change according to the intensity of the light that is hitting the surface.
Using PHOTOSHOP
What I will do is this:
- Hold down ctrl+shift and click first on the red and then the green channels
- Now I have a selection made out of those 2 channels.
- Paint the blue channel with 100% black - grab the paint bucket and fill the selection
You probably noticed it didn't look too good, don't swear at the computer, we'll fix that.
- With the blue channel selected hit ctrl+L and hit "auto" for some quick adjustment.
- Pull the sliders to the left until black becomes light grey and larger surfaces are completely white.
If it looks like this, it's going to work.
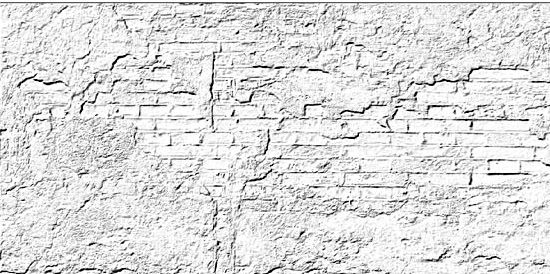
This is our occlusion channel. Tricky thing about it is that the specular generated by the dark areas in the blue channel look pretty bad and can't be controlled properly.
So, to avoid this we will add the blue channel in the alpha channel.
- ctrl+left click on the blue channel and hit the new channel icon at the bottom
- Open the levels dialog and adjust the sliders so the gray parts are now black. This will prevent the blue channel generating any form of specularity.
- In this case I could have skipped this step because I know that the material is rough brick and will have no specularity at all.
Now import the diffuse map and pick a channel with medium contrast for textures with low specularity level and high contrast.
Do the same as you did previously when you made the blue channel BUT REMEMEBER TO INVERT IT FIRST by hitting ctrl+shift+i
Once again use the paint bucket and paint it with 100% black, rememeber to set the blend mode to MULTIPLY.
Use the levels dialog, curves, paint brush or any other tool to achieve the desired effect.
Now you have to know how to recognise what is and what isn't supposed to have a specular. Which means you have to know how to tell a difference between materials.
In this case I have a brick and plaster texture, so it's rough, dirty and not likely to reflect light.
People often add too much specularity to bricks because they think it looks good when it's shiney but most building materials have very little reflection and tend to be matte.
Now it's time to test this and see what we have.
The _n map adds it's own occlusion which makes the surface look rougher.
This is especially noticable when you look down on the surface instead of standing directly in front of it.
With a higher intensity light, the occlusion fades out.
