JohnnyEnglish tutorial Working with UE4
If you've never opened Unreal Editor 4 before, I'd recommend doing it now, perhaps follow a few tutorials about using the editor, there are numerous examples, I'll endeavour to add links to good ones here.
For this tutorial I'm going to recommend using the 3rd person shooter template as a platform to build and test your map upon.
- Third person blueprint template has a relatively small footprint
- The template comes supplied with a mannequin the same size as the Urt5 Player Models.
- It's very easy to move the 3rd person camera to simulate the view of a first person game.
- Prior to packing your map we'll use migrate to a clean empty project.
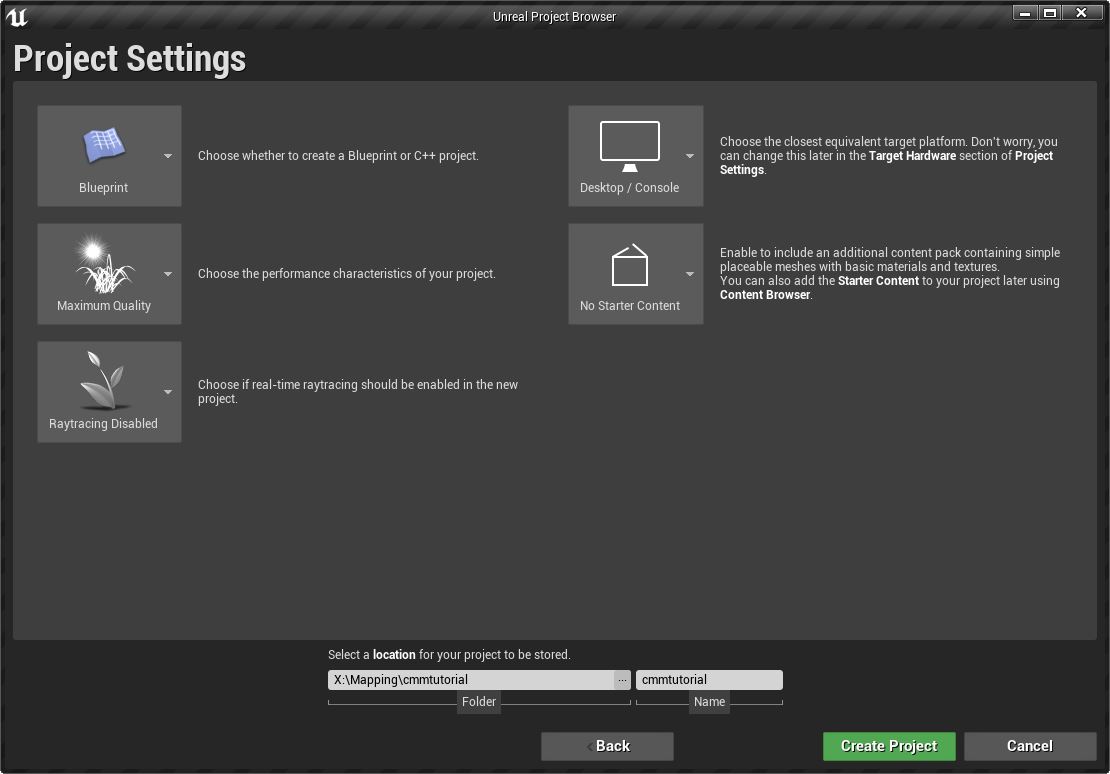
Create a new project using the 3rd person blueprint template
The first stage is to create a new project, select as a template the 3rd person blueprint template. You can choose to include starter content if you prefer but for this tutorial, I suggest you don't, we'll be creating everything we need within our map space.
Configure your project for mapping
The 3rd person template includes an example map, we'll be deleting this later.
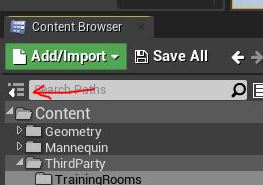
Expand the content browser fully so that folders are displayed, the small button to the left of the and create the following folders in Content:
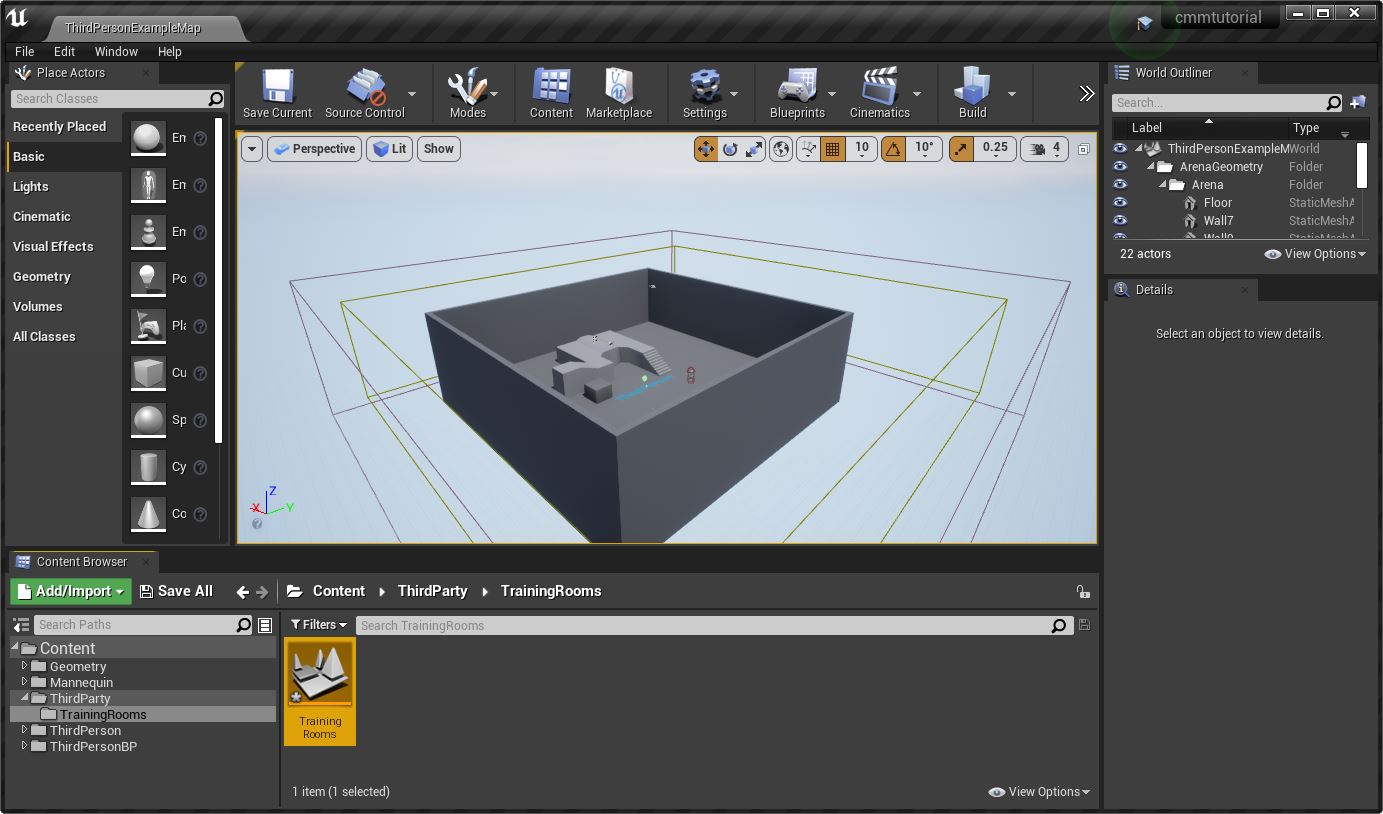
- Below the Content folder create a new folder named ThirdParty.
- Inside the ThirdParty folder we shall create our maps folder, all the map assets will live in folders below this. For this tutorial, the map folder name should be TrainingRooms.
- You can create three more sublevels below TrainingRooms for mesh, materials and textures.
- In the TrainingRooms folder create a new Level and name it TrainingRooms, the name of the level should match the name of it's folder.
Add initial level lighting
Enable the Sky Atmosphere component by following these steps using the Modes panel in the Level Editor:
- Place a Sky Atmosphere component in the scene.
- Place a Directional Light in the scene, and from its Details panel, enable Atmosphere/Fog Sun Light.
- If using multiple Directional Lights, set the Atmosphere Sun Light Index for each; for instance, 0 for the Sun and 1 for the Moon.
Place a Sky Light in the scene to capture Sky Atmosphere and have it contribute to the scene lighting.
[[1]]


