How to make a tilable marble texture in Gimp
Create a new image to the size you want and fill with solid noise (Filters-Render-Clouds-Solid Noise), using the following settings. For this example I have used X/Y 6.0 which works quite nicely with a 1024x1024 image.
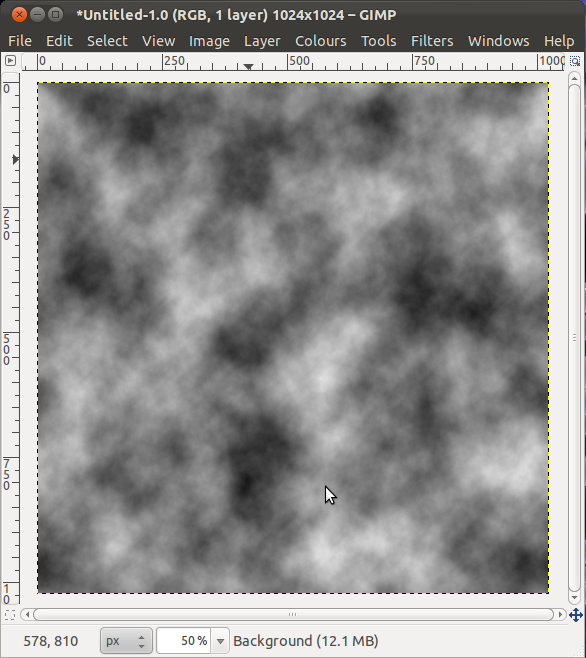
Your image should now look something like this.
Invert the colours (Colours-Invert).
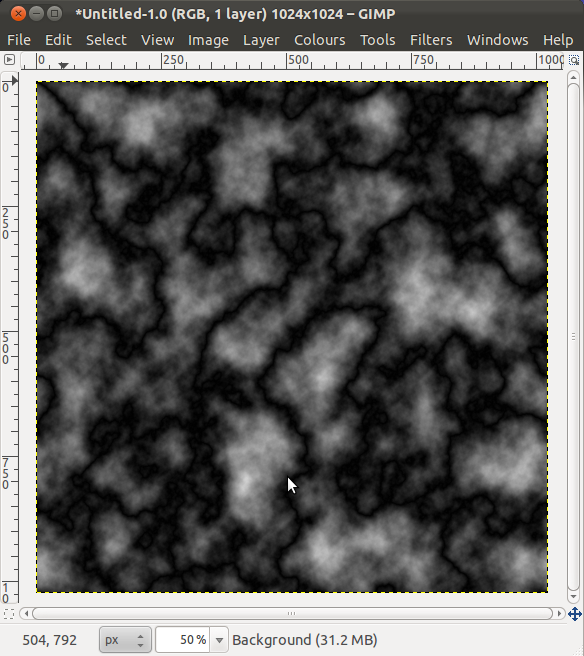
Now apply Difference Clouds (Filters-Render-Clouds-Difference Clouds) using the same settings as the solid noise clouds. Your image should look similar to this.
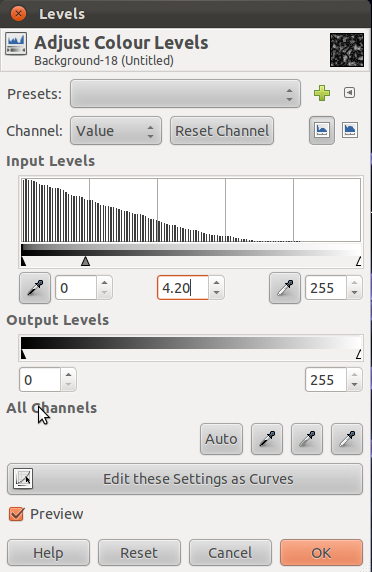
Change the levels (Colours-Levels) to the ones shown below.
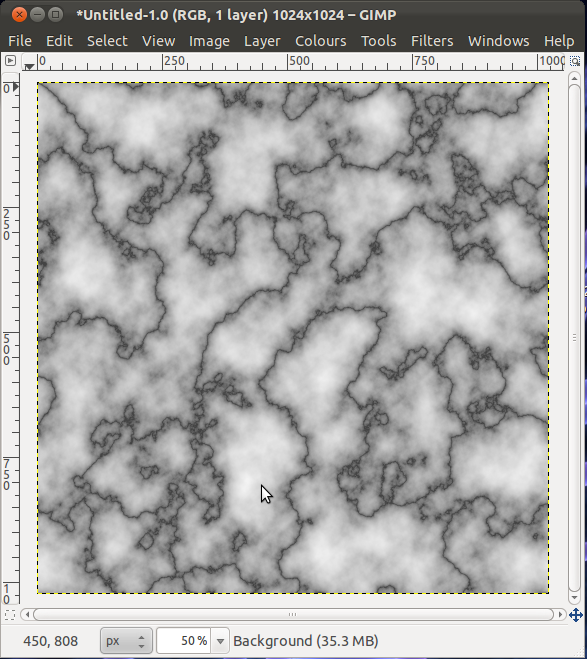
And now your image should look like this.
Duplicate the layer (Layer-Duplicate Layer) and rotate it by 90° in either direction (Layer-Transform-Rotate 90° Clockwise/Anticlockwise)
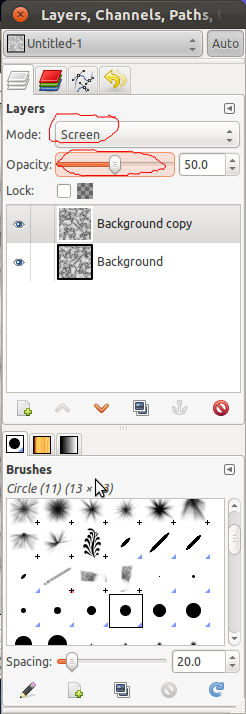
With the duplicated layer highlighted go to the layers dialogue and set the mode as screen and change the opacity to somewhere around 50%.
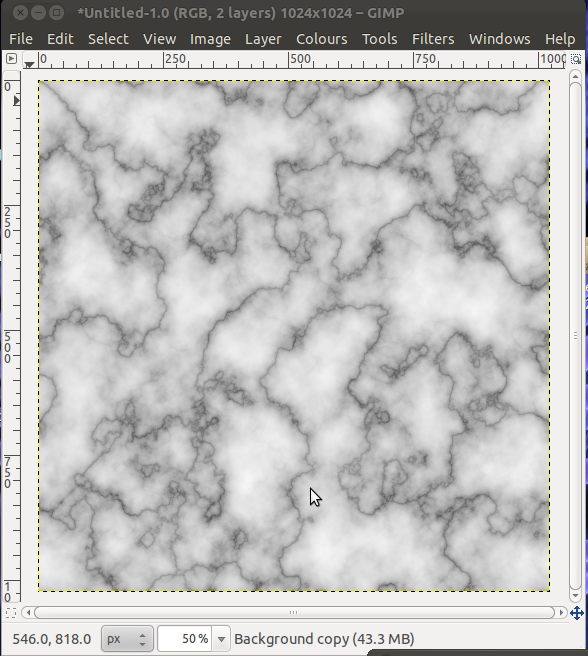
Now you have your marble
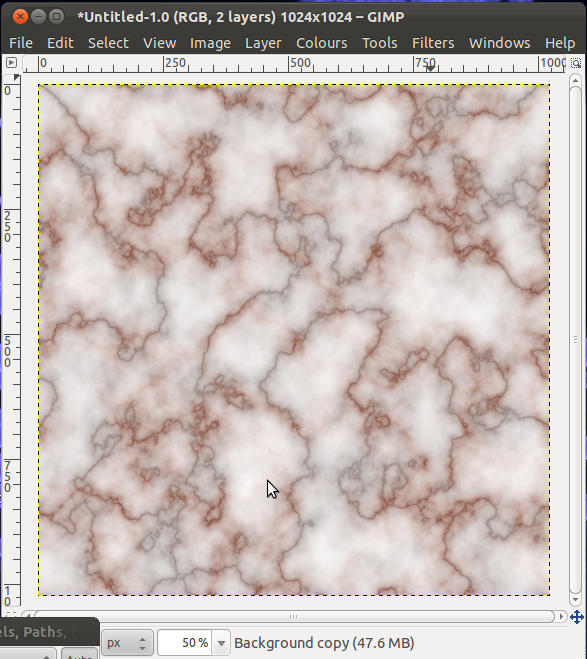
To change the colour of the marble go to (Colours-Colourise) and play with the settings until you are happy with your creation. It is best to only change the colour of the top image. Leaving the background layer gray should help to stop flare in game and gives more depth to the texture.

