Mapping:Adding a camera to your map
A portal consists of 3 to 4 objects.
First you have an object is a brush you want to be the "viewer".
Then you have 2 entities, the misc_portal_surface and the misc_portal_camera.
This tutorial also uses an entity of target_position which is used to aim your camera, although you can give your misc_portal_camera an angle to aim instead.
Contents
Images
Download the following zip file Images it contains 2 images. Extract them tore these in your images folder.
Shader
Add the following shader to your shader file, you should change the paths to match your map.
textures/myfirstmap/tvscreen
{
	qer_editorimage textures/myfirstmap/monitor.tga
	q3map_lightimage textures/myfirstmap/monitor_colour.tga
	q3map_surfacelight 1200
	portal
	{
		map textures/myfirstmap/monitor_colour.tga
		blendFunc filter
		depthWrite
	}
	{
		map textures/myfirstmap/monitor_colour.tga
		blendFunc GL_SRC_ALPHA GL_ONE_MINUS_SRC_ALPHA
		alphagen portal 256
		rgbGen identityLighting
	}
	{
		map textures/myfirstmap/monitor.tga
		blendfunc blend
	}
	{
		map $lightmap
		blendfunc filter
	}
}
Create a TV screen
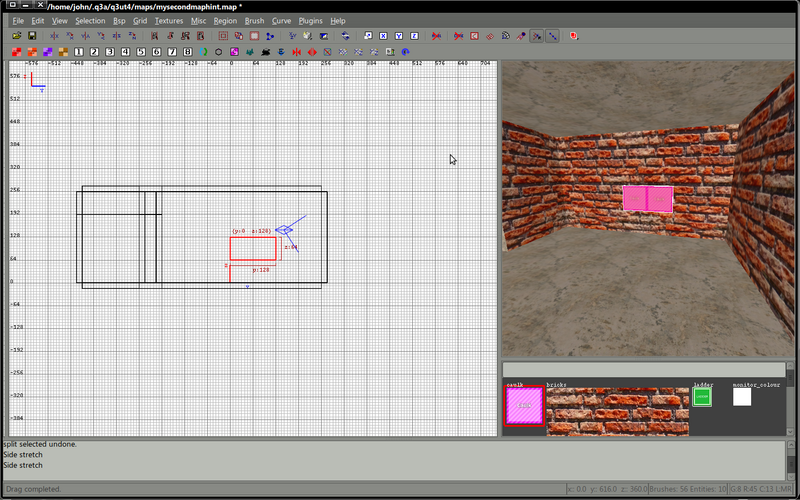
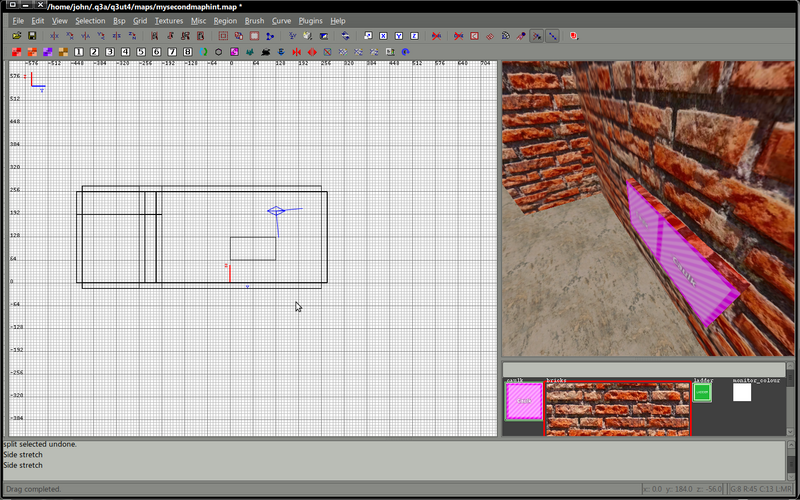
Create a simple (detail) brush in your map where you'd like your TV to be.
Texture the top and sides, perhaps the bottom if anyone is likely to look there.
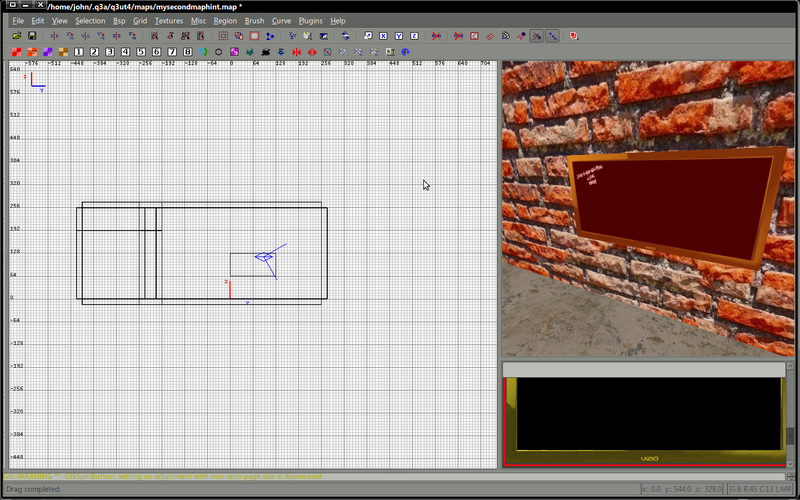
Select the front face, the actual screen of your TV
Apply the monitor.tga to this face and fit it to size.


