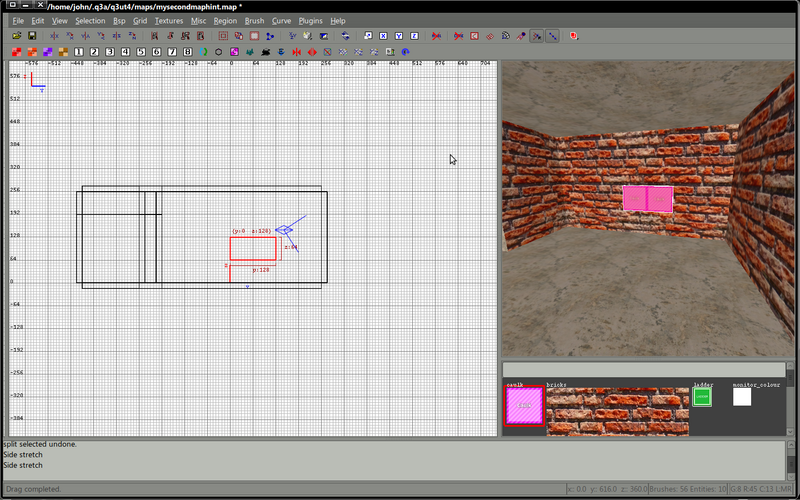
Mapping:Adding a camera to your map
A portal consists of 3 to 4 objects.
First you have an object is a brush you want to be the "viewer".
Then you have 2 entities, the misc_portal_surface and the misc_portal_camera.
This tutorial also uses an entity of target_position which is used to aim your camera, although you can give your misc_portal_camera an angle to aim instead.
Images
Download the following zip file Images it contains 2 images. Extract them tore these in your images folder.
Shader
Add the following shader to your shader file, you should change the paths to match your map.
textures/myfirstmap/tvscreen
{
	qer_editorimage textures/myfirstmap/monitor.tga
	q3map_lightimage textures/myfirstmap/monitor_colour.tga
	q3map_surfacelight 1200
	portal
	{
		map textures/myfirstmap/monitor_colour.tga
		blendFunc filter
		depthWrite
	}
	{
		map textures/myfirstmap/monitor_colour.tga
		blendFunc GL_SRC_ALPHA GL_ONE_MINUS_SRC_ALPHA
		alphagen portal 256
		rgbGen identityLighting
	}
	{
		map textures/myfirstmap/monitor.tga
		blendfunc blend
	}
	{
		map $lightmap
		blendfunc filter
	}
}
Create a TV screen
Create a simple (detail) brush in your map where you'd like your TV to be.

