JohnnyEnglish tutorial Working with UE4 Materials
Contents
Introduction
UE4 includes a very rich material editor, fortunately it's very easy to use and we'll use it now to start making all the materials we're going to need.
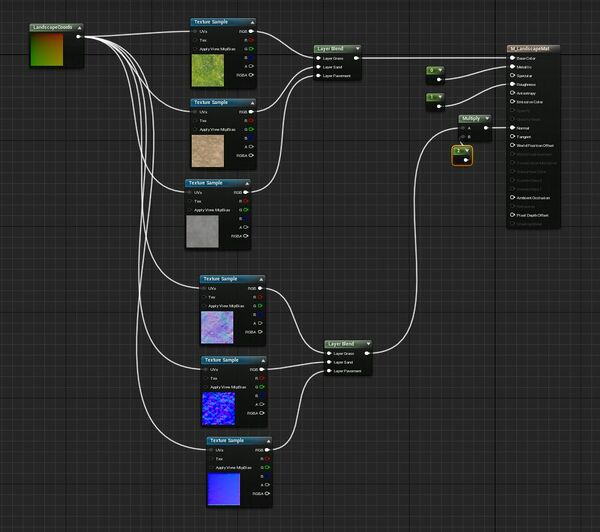
For this tutorial I've chosen to use a concrete theme and for the ground, a mix between sand, grass and pavement.
Let's start with a very simple Chrome material.
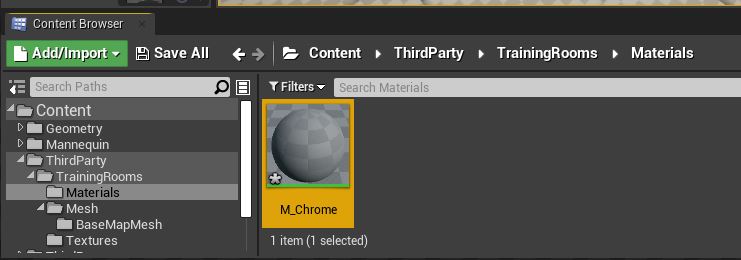
- Right click inside the Materials folder, we created this folder earlier in the tutorial but if you missed/skipped that, don't worry simply duplicate this file structure and continue.
- Create a new Material, name the material M_Chrome, the M_ prefix denotes, in UE4speak, that this object is a material.
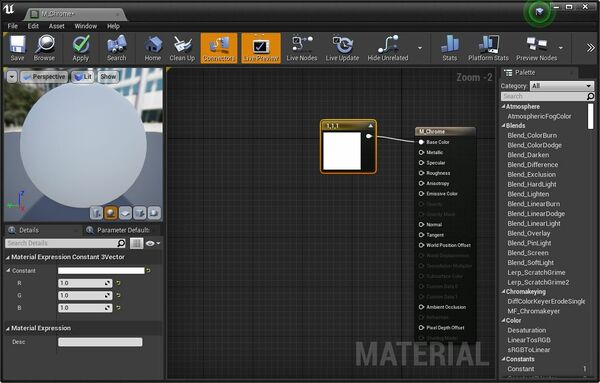
- Double click to open the M_Chrome material to open it, right click in the Material Editor to add a Constant3Vector (Colour)
- Set the colour to be white using the left side properties.
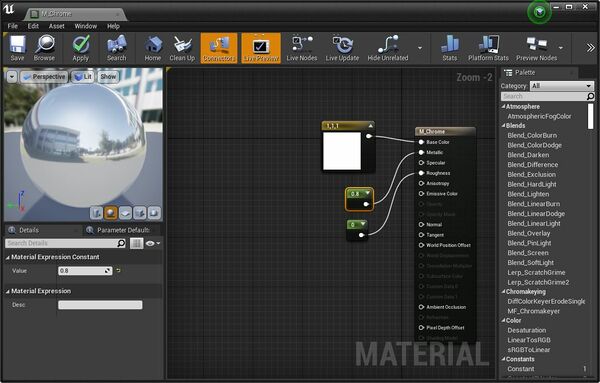
- Add a Constant, value of 0 and connect it to the Roughness material pin.
- Duplicate that constant (Ctrl-W), set it's value to 1 or .8 and connect the pin to the Metallic pin.
Material Instances
There are performance considerations for all elements of UE4 mapping, while the engine is very powerful a game with detailed environments and many player characters will be required to draw things, calculate things and deal with network traffic on every tick of the engine and when we can reduce the load on what is required, the game will perform better.
So we consider performance when we build the mesh by making it as simple as possible. We consider performance when creating collision, smooth simple collision will improve game performance, textures and other assets will also be optimized for performance.
So it makes sense to take the same approach to materials.
Material Instances are more efficient method of creating materials (FIND REASONS)
Map Material Master
For this tutorial we will make four concrete materials using textures.
For each material we'll use 4 textures to represent:
- The materials colour/pattern/albedo
- The roughness or the material
- The metallic (shininess) properties
- A Normal map to represent small height changes on the surface of the material
I've included a set of textures with this tutorial, you can download these DOWNLOADLINKFORTEXTURES, unzip these and import them to the tutorial map Textures folder.
Create a new material in your tutorial Materials folder named MM_TrainingRoomsPBRMaster
In the material editor:
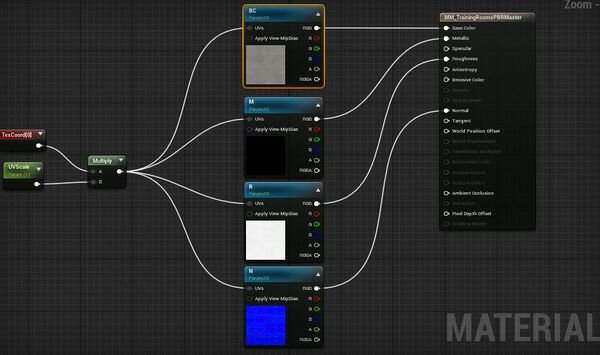
- You will need to add a TextureCoordinate
- Drag out the pin to a Multiply
- Drag out the B pin to a ScalarParameter, set it's default value to 1
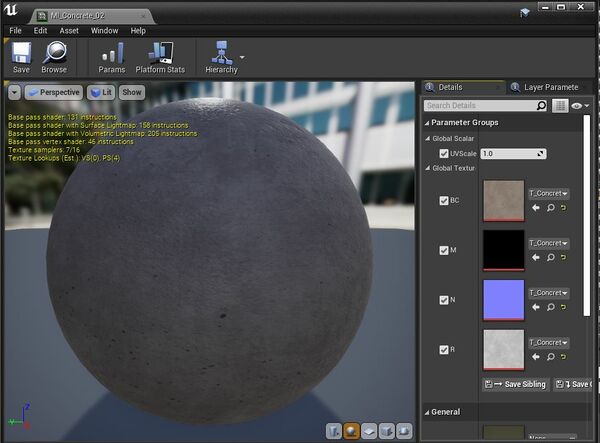
- Create a Parameter2d object and duplicate it 3 times, name these as shown BC, M, R, N
- Connect the left side to the multiply, connect the RGB to the appropriate material pin.
Save this material master, close the material editor.
Material Instances
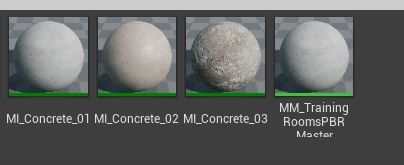
Right clicking the MM_TrainingRoomsPBRMaster material will give you the option to create a Material Instance, do this and create 3 instances, name them MI_Concrete_01, MI_Concrete_02, MI_Concrete_03 and MI_Concrete_04
Open each of these in turn and select the correct matching texture for each of the instance slots, BC, M, R and N
Landscape Material
Painting with the Material Instances
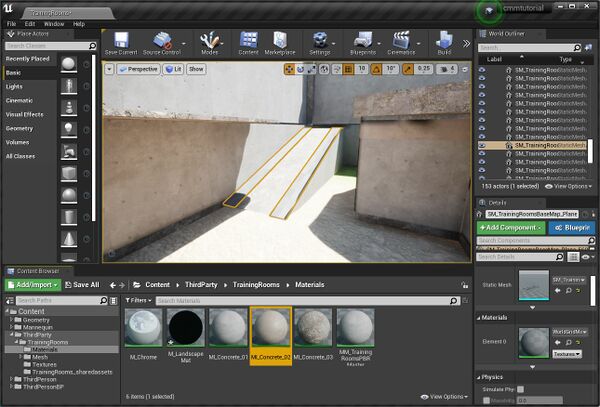
Now we simply need to apply the material instances to the mesh, and paint the terrain.
Explore your map with materials applied
What next?
In the next section, if you're following along we'll be adding more details to our map.
