JohnnyEnglish tutorial Working with UE4
If you've never opened Unreal Editor 4 before, I'd recommend doing it now, perhaps follow a few tutorials about using the editor, there are numerous examples, I'll endeavour to add links to good ones here.
For this tutorial I'm going to recommend using the 3rd person shooter template as a platform to build and test your map upon.
- Third person blueprint template has a relatively small footprint
- The template comes supplied with a mannequin the same size as the Urt5 Player Models.
- It's very easy to move the 3rd person camera to simulate the view of a first person game.
- Prior to packing your map we'll use migrate to a clean empty project.
Contents
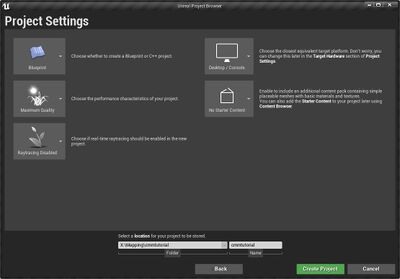
Create a new project using the 3rd person blueprint template
The first stage is to create a new project, select as a template the 3rd person blueprint template. You can choose to include starter content if you prefer but for this tutorial, I suggest you don't, we'll be creating everything we need within our map space.
Configure your project for mapping
The 3rd person template includes an example map, we'll be deleting this later.
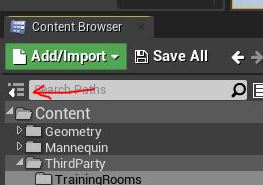
Expand the content browser fully so that folders are displayed, the small button to the left of the and create the following folders in Content:
- Below the Content folder create a new folder named ThirdParty.
- Inside the ThirdParty folder we shall create our maps folder, all the map assets will live in folders below this. For this tutorial, the map folder name should be TrainingRooms.
- You can create three more sublevels below TrainingRooms for mesh, materials and textures.
- In the TrainingRooms folder create a new Level and name it TrainingRooms, the name of the level should match the name of it's folder.
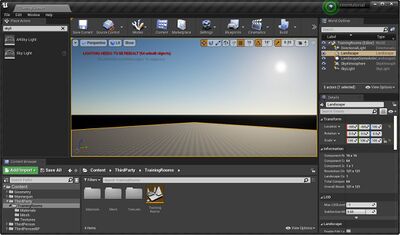
- Open the TrainingRooms level (double click the level icon) and you'll be presented with a totally black scene, the level is empty and will need several components, select these from the component list (far left), you can search for partial words to help find the components you need.
- Find and add a Sky Atmosphere component.
- Add a Directional Light and with it's properties, find the Sky Atmosphere check box and check it.
- Add a SkyLight.
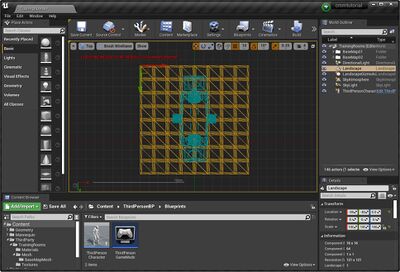
- Now change the editor mode (use the Modes button on the main menu) to Landscape and create a small, 8x8 landscape.
For more information about the UE4 built in Sky Atmosphere lighting system [UE4 Sky Atmosphere on Epic]
Start building the map
So far we've added skylighting and a landscape for our terrain. At this stage, you can build your map in any way that you feel is appropriate.
You can create a map using only UE4 brush entities, for more information about this see [UE4 Brushes]
This tutorial will assume you've either converted an existing map or have built a map using 3d modelling software such as Blender, Maya, 3dsMax.
In this case, we will have a map mesh in .FBX format, ready to import.
Import our map mesh
If you would like to follow along with this tutorial using the trainingrooms mesh, download my example .FBX here.
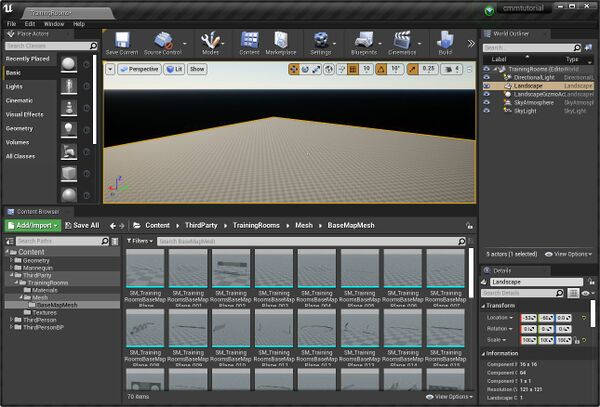
- Create a folder in your Content/ThirdParty/TrainingRooms/Mesh folder named BaseMapMesh.
- Navigate into this folder, right click the large green Add/Import button just above the Content Browser and select (in this case SM_TrainingRoomsBaseMap.FBX) and Import it.
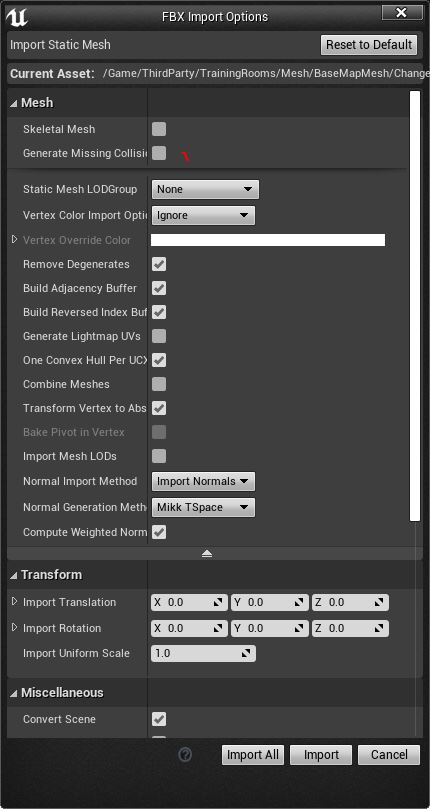
UE4 Will attempt to detect the object you're importing and will offer you an Import Options box.
Here there are several million options, depending on whether your mesh includes animations, there may be even more options, the important ones for mesh prepared for this tutorial are:
- This is not a Skeletal Mesh so uncheck this option if checked (very unlikely)
- We don't want the importer to create any collision at this stage, we'll be adding our own collision later which will smooth the map and provide a very simply collision mesh.
- Uncheck Generate LightMap UV's, we have already included lightmap UV's in Blender.
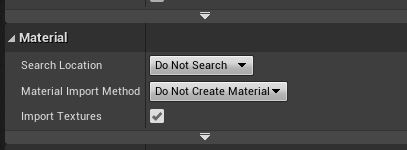
Scroll down further and open any un-opened sections, you should find the Material options. You should set the Search Location to Do not search and set the material import method to Do not Create Material
You can import the mesh, hopefully there will be no errors, no warnings. If you have errors or warnings at this stage, perhaps consider fixing them in your editor and repeat this process.
If all went well, you will have a folder BaseMapMesh full of mesh pieces that we cut out and prepared in our previous tutorial.
Preparing mesh for testing with temporary collision
This stage is not required, the only reason I've included this and the following step is to demonstrate how collision may be added to mesh and how useful the bulk editor feature of UE4 is.
An additional benefit of this stage is that you'll be able to run around your map, and that's fun right?
- Select all mesh in the folder BaseMapMesh. Use Ctrl-A as a shortcut to do this.
- Right click any of the selected mesh to invoke the Context Menu.
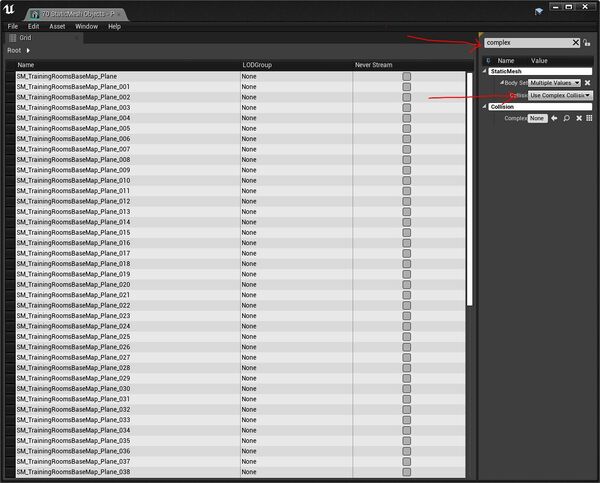
- Select Asset Actions from the menu then choose Bulk Edit via Property Matrix option.
The Property Matrix editor is a very quick and simple way to change common settings very quickly. In this case we'll be adding a temporary collision to the mesh we imported so we can't walk through it.
- In the editor search box, type complex, from the Collision dropdown, select Complex as Simple
- Ctrl-S to save the changes.
- Close the Property Matrix editor.
Placing our mesh
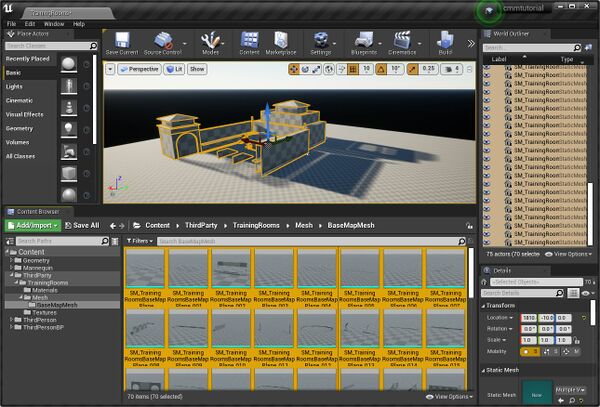
Select all the mesh in the BaseMapMesh folder and drag it onto your map in the viewport.
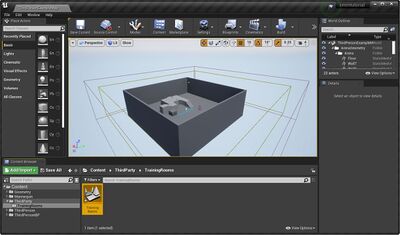
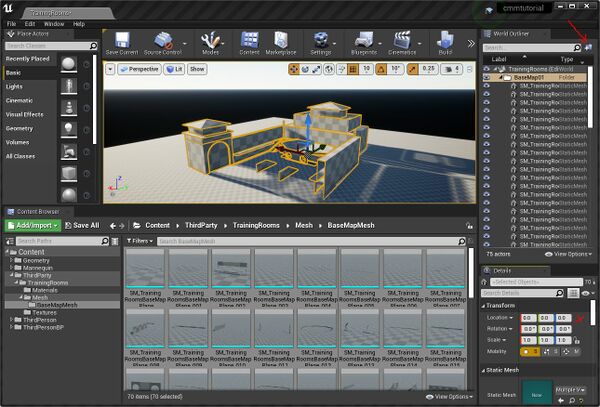
It's possible to create folders in the World Outliner (top right, list of items in the map), click the very obscure button marked with an arrow in the screenshot below. Enter a folder name, everything that is currently selected will be added to a folder.
While all the mesh is selected, move the objects to location 0,0,0. To do this click the very small yellow arrow (marked with a x in the screenshot below).
Building the shadow/lightmaps
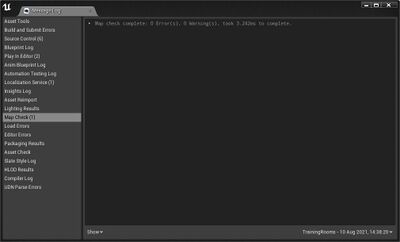
Before we proceed much further, it's worth checking that we can actually Build (calculate the static light maps, etc), Use the Build option on the UE4 main menu to do this, at the end of the process you will be given a report, if it looks like this, progress further.
Quick run around
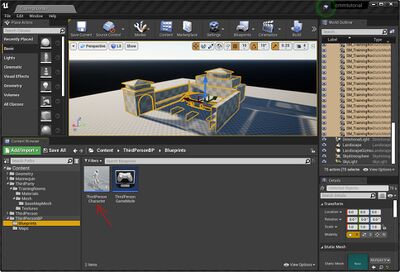
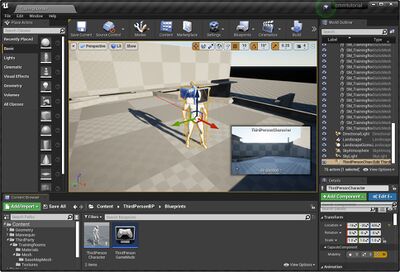
If you followed along with this tutorial, or if you chose to use the 3rd Person Template as a base for your project you can find the Third Person Character blueprint in the folder indicated.
Drag one of these onto the map. In the example below you might notice, I've moved the 3rd person camera to be at the players eye level.
Press the Play button on the main menu and enjoy the experience of running around your own map.
Finish off
We've so far only created half a map, this isn't a problem in this example, we can simple copy what we have, rotate it, move it around a little and we've finished. We'll do this now.
- Copy the BaseMap01 folder in the World Outliner. A quick way to duplicate an object in UE4 editor is to use the Shift-W key. Do this on the BaseMap01 folder, this will create BaseMap02 folder.
- Rotate the contents of BaseMap02 folder, 180 degrees and shuffle it around so that the halves align, use the Top view to achieve this in the Viewport.
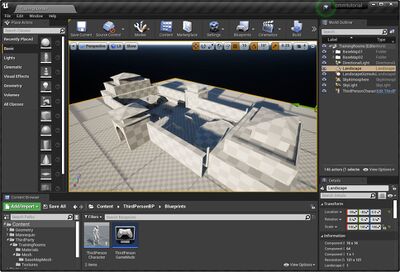
Return to Perspective view in the Viewport and we have a complete map ready to refine further.
