Mapping:What is a patch
General information
| |
Way too much tech stuff, doesn't matter for mappers |
Bezier Patches or "curves" are one type of Parametric Surface.
A parametric surface is a surface with a shape defined by a set of parameters, so the shape of the surface can change depending on the values of the parameters.
For Bezier Patches in Quake 3, the parameter is the LOD, or Level Of Detail.
Patches in Quake 3 are rendered with triangles, so the curves must be 'tessellated' (subdivided) into a number of triangles.
The higher the LOD value, the more the curve is subdivided, and the more triangles are created in tessellation.
The LOD can be set to change with the viewer's distance from the Patch, decreasing as they get further away.
In Q3 "r_lodCurveError" controls how much the LOD changes with distance, and "r_subdivisions" fixes the maximum LOD for all curves.
A Patch is stored as a 2-dimensional matrix of points.
A 2-dimensional matrix is a table containing sets of values arranged in rows and columns.
Each point is stored as two sets of values.
One set contains the XYZ coordinates defining the location of the point in the 3-dimensional volume of the map.
The other set contains the UV coordinates defining the location of that point on the 2-dimensional area of the Shader.
One Patch can only have one Shader, for the same reason one brush face can only have one Shader.
Creating patches
Note: By postit, originally posted at urtjumpers.com forum
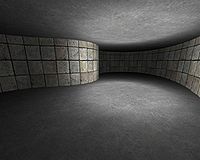
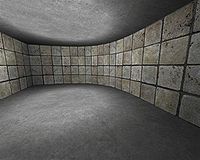
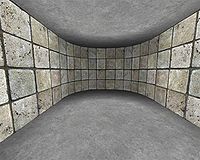
The aim of this tutorial is to guide a mapper in creating curved walls using patches, as pictured below:
Creating a curved wall is about moving vertices into the right positions. I've tried to use pictures more than words to show this.
Quarter Circle
- In the menu select Curve -> Simple Patch Mesh
- Accept default settings (3 X 3)
- Use x/y/z axis rotate or change view (CTRL+TAB) until you are viewing the patch edge on - it looks like a line.
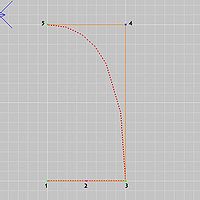
- Press V to enter Vertex Selection mode. Your screen should look like the image below. The vertices have been numbered.
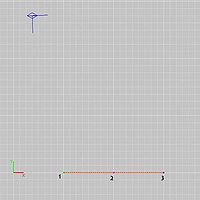
- Drag vertices 3 and 2 as shown below. A quarter circle is achieved.
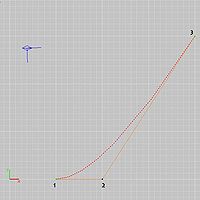
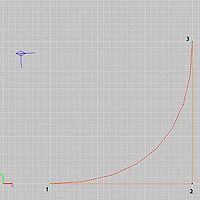
- Texture the wall. With the wall selected, press S to bring up the Surface Inspector and select "Natural" in the patch texturing section.
| |
If you can't texture the correct side of the patch, you need to invert the matrix: Menu -> Curve -> Matrix -> Invert |
Semi Circle
- This time create a 5 X 5 patch mesh.
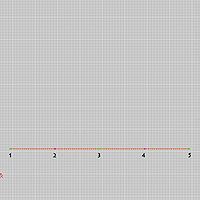
- Move the vertices as shown to create a semi circle.
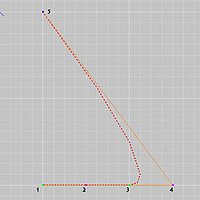
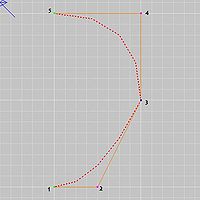
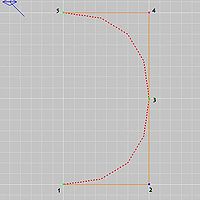
- Texture and voila:
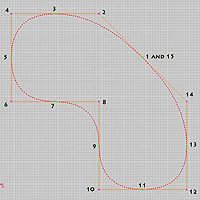
Go Nuts
This gives the result shown in the picture at the top of this tutorial.
