Terragen skybox
Contents
Terragen classic
Terragen is a scenery generator, created with the goal of generating photorealistic landscape images and animations. It is available for Windows and Mac OS. Terragen is free for personal, noncommercial use, with only a few limitations.
Terragen Classic is capable of near-photorealistic results for professional landscape visualisation, special effects, art and recreation. Terragen Classic has been used in a variety of commercial applications including film, television and music videos, games and multimedia, books, magazines and print advertisements. For just a small selection of projects Terragen has been used in, please visit the commercial use page.
Despite the fact that Terragen Classic can be used for professional landscape visualisation projects, it is accessible and easy to get started with. You could be rendering your first landscape image in as little as 15 minutes after installation.
Download terragen classic from the Terragen classic download page rr There is an inspirational gallery of skies created with terragen classic here
Make your scene
There are a great many tutorials on how to create scenes using terragen and the application is relatively simple and encourages exploration.
Having created your terrain this tutorial will describe how to create the images that you'll need to import your landscape into Urban Terror as a skybox.
Making skybox images
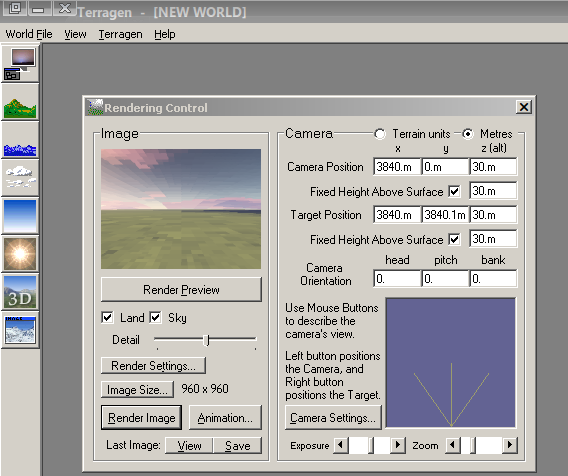
Before we proceed you should first confirm that your scene is suitable and your camera is position correctly.
Common mistakes when making skybox images with terragen
- Your camera altitude is too low
- Your camera is inside the ground or a mountain
For these reasons I usually place a camera at 30m above the ground and tend to make only flat landscapes.
Check it will work
With your world ready you should enter the values
0,0,0
For your camera orientation.
Click the render preview button and confirm that your scene renders as you'd expect.
Change the camera orientation to
90,0,0
and once again, render a preview. Check it looks ok.
Repeat for camera orientations values of
180,0,0 and 270,0,0
If all the test renders look good it's time to set up for final renders.
Terragen settings
First of all, in terragen in the rendering control dialogue.
Render settings
From the image tab set the image resolution. In terragen classic the maximum resolution is 960, set width and height to this value
Set the quality level to be as high as your computer can handle.
Camera settings
Set the zoom/magnification to 1
Other settings
Feel free to experiment with other settings.
Generate the images
|
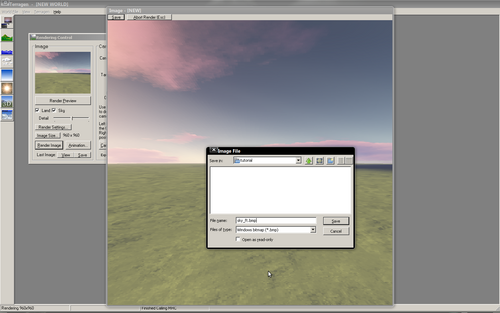
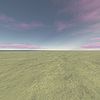
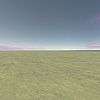
With the camera orientation set to 0,0,0 Click the render image button, this is your front image and should be saved as sky_ft.bmp Generate the following images using these camera orientation values 90,0,0 sky_lf.bmp 180,0,0 sky_bk.bmp 270,0,0 sky_rt.bmp With the sides completed, we need to generate an image for the up and down faces. 0, 90,0 sky_up.bmp 0,270,0 sky_dn.bmp
|
Resize and rotation
You'll need to use an image editor like gimp or photoshop for the final stage.
Open all 6 images with your preferred editor.
Resize each image to be 1024x1024 and save and close all images as .jpg files (not bmp) except for the UP image.
The up image needs to be rotated 90 degrees counter clockwise (270 degrees clockwise)
Save this modified up image as sky_up.jpg
Adding to your map
Supposing you wished to use your new sky in your map you should first move your images to your mapping env folder. Create a new sub folder in mapping/env called myfirstmap and copy all 6 images into this folder.
Add the shader
textures/myfirstmap/thesky
{
 	qer_editorimage env/myfirstmap/sky_up.tga
 	skyparms env/myfirstmap/sky 512 -
 	q3map_sunExt 1 0.86 0.67 350 -102 40 2 16
 	q3map_lightmapFilterRadius 0 160
 	q3map_skyLight 20 4
 	surfaceparm 	sky
 	surfaceparm 	noimpact
 	surfaceparm 	nolightmap
 	surfaceparm	nomarks
}
