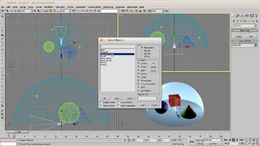
How to make a sky using 3dsmax7
This simple tutorial will I hope explain how to create a sky for Urban Terror or other games which use a cubic skybox.
A skybox is basically a collection of 6 images which when applied to brushes in your map will draw as a wrapped sky.
For the purpose of this tutorial I'll create a simple sky with a few simple elements to show the technique.
In my example, I've created 4 basic materials, one for the sky which is a simple blend between 2 blues and 3 other simple reflective materials for the geometry inside the box.
The sky itself can be anything that can be mapped using 3dsmax, so photographs, panaramas, simple gradients, anything at all.
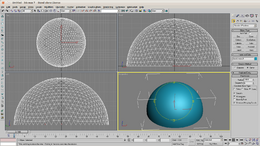
Start by creating a geosphere object in max, using the type-in rollout make the diameter 100 units, this is important later on.
The geosphere can be converted to a hemi-sphere using the checkbox in the rollout.
Use as many segments as you feel you need to get a good result.
Move the hemishphere to the center of the world, use the transform rollout to do this by setting the x, y and z to zero.
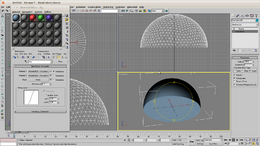
With the hemisphere selected, from the list of modifiers select normals to flip the side the texture is displayed, we want the texture to appear on the inside of the hemisphere.
Assign the sky texture to the hemisphere
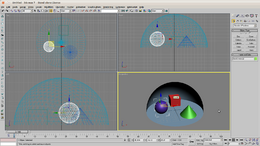
For the purpose of this tutorial, I added a few shapes into the skybox, just for a bit of interest. Obviously, for your skybox you could add buildings, bridges, mountains, anything. There a thousands of free 3d models you can add to your scene.
I added a cube, a sphere and a cone of different colours, when the sky is complete and added to urban terror these must all line up.
It would also be possible at this stage to add another hemishphere and create a cloud layer on this which would add depth to the sky.
Add lighting
You should add lighting to your scene, in this example I added a couple of omni directional lights with ray-traced shadows.
I would suggest, for the most realistic results, use a single targetted spotlight to represent the sun or brightest part of the sky and use several, low intensities to add fill light low down in your skybox.
Don't be afraid to add other effects (lens flares, glows, atmosphere) and effects lighting.
Add a camera
Add a target camera to your scene, place the camera itself dead center, use the transform rollout to do this or if you prefer, by hand.
Move the target to be at
x 50
y  0
z  2
