Mapping:Create your first room
| |
This page is work in progress! |
Contents
- 1 Introduction
- 2 Before we begin
- 3 First steps
- 4 Textures / images
- 5 Create a shaders file
- 6 Open Radiant
- 7 Create your first brush, the floor
- 8 Make it caulk
- 9 Sizing the room
- 10 Build the walls
- 11 Add the ceiling
- 12 Using mitres
- 13 Using the clipper tool
- 14 Mitre with control points
- 15 Adding textures
- 16 Structural brushes and detail brushes
- 17 Add structural brushes
- 18 Adding lights
- 19 Info Player Start
- 20 Compiling your first map
- 21 Test your map
Introduction
This tutorial aims to help you create your first room and, your first map. The tutorial isn't meant to be "the best way", it's been created to introduce you to good practice, neat brushwork and a consideration of a 10 year old engine (soon to be given a new lease of life).
Before we begin
|
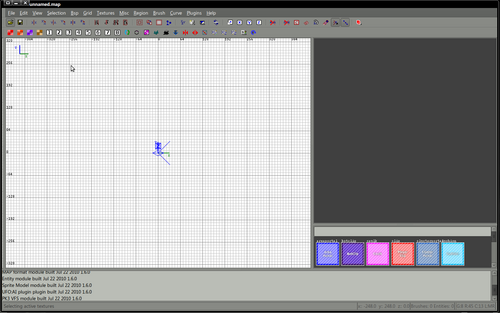
I'm assuming before this tutorial begins that you have a correctly configured radiant, it doesn't matter which, the principles are pretty similar in all versions. If it doesn't look slightly similar to this or If you've not yet configured radiant please see one of the sections about installing
If you're happy that your radiant shares similarities with the image above you may now close radiant, it's not required for the next 10 minutes, we have to prepare.
|
First steps
Before you begin any mapping project you should choose a name for the project and create an empty folder in your textures folder with that name. For the purpose of this tutorial our map is called myfirstmap, it's short and snappy and easy to remember.
Create a folder in your mapping/textures folder called myfirstmap
Find your shaderlist.txt file, normally this will be in the mapping/scripts folder. Open this with a text editor.
Somewhere in this file, add the single line
myfirstmap
Confirm that there is a line which reads
common
if not, add one. Save the file and close the editor.
In order to know how large things in map world are in urban terror the game it's important to have a reference. Luckily somebody created a set of entities which help.
Download the file measure.def Right click and save target
If anyone knows the name of the person who created this we should give credit.
Move this file to your mapping/scripts folder.
Textures / images
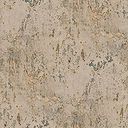
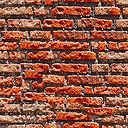
For the purpose of this tutorial you'll need a couple of images. Download these 2 files and save them to your mapping/textures/myfirstmap folder. You created this earlier if you didn't you've been skipping - go back and do it now.
Save these files as plaster.jpg and bricks.jpg -
Additionally download these files and save them to your mapping/textures folder
Save these as water.jpg and watercaulk.jpg
Create a shaders file
In your mapping/scripts folder create a new file called myfirstmap.shader and open it with a text editor.
Paste in the following lines, they're not important at this stage but will be needed in another tutorial later.
///////////////////////////////////////////////////////////////
textures/myfirstmap/watercaulk
{
   qer_nocarve
   qer_trans 0.40
   qer_editorimage textures/watercaulk.tga
   surfaceparm nodraw
   surfaceparm nolightmap
   surfaceparm nonsolid
   surfaceparm trans
   surfaceparm nomarks
   surfaceparm water
}
///////////////////////////////////////////////////////////////
textures/myfirstmap/ladder
{
   qer_editorimage textures/ladder.jpg
   qer_trans .40
   surfaceparm ladder
   surfaceparm nodraw
   surfaceparm nolightmap
   surfaceparm nonsolid
   surfaceparm trans
   surfaceparm nomarks
   surfaceparm noimpact
   surfaceparm playerclip
}
Save this file and close the text editor, the preparation work is complete it's now time to open radiant.
Open Radiant
|
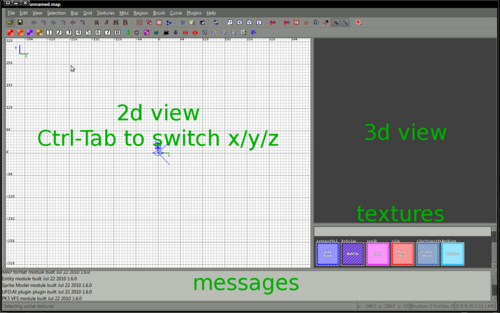
Start radiant, after a few moments it will start and have a layout similar to this
If not, you've seriously done something wrong and should leave now or read a topic about fixing radiant... needs one Most work will take place in the 2d section. To switch beween 3d projections use the CTRL-Tab key. This will cycle between Y/X Z/X and Z/Y - basically top, side, other side For the purpose of this tutorial work in units of 8. Check that this is your current selection by the grid menu option or by pressing 4 |
Create your first brush, the floor
|
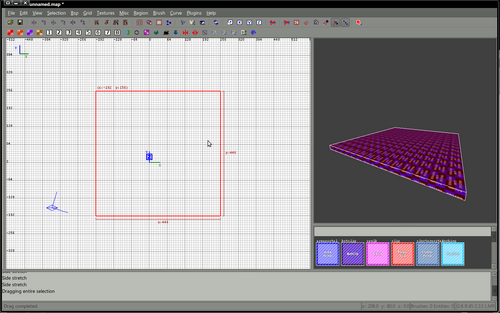
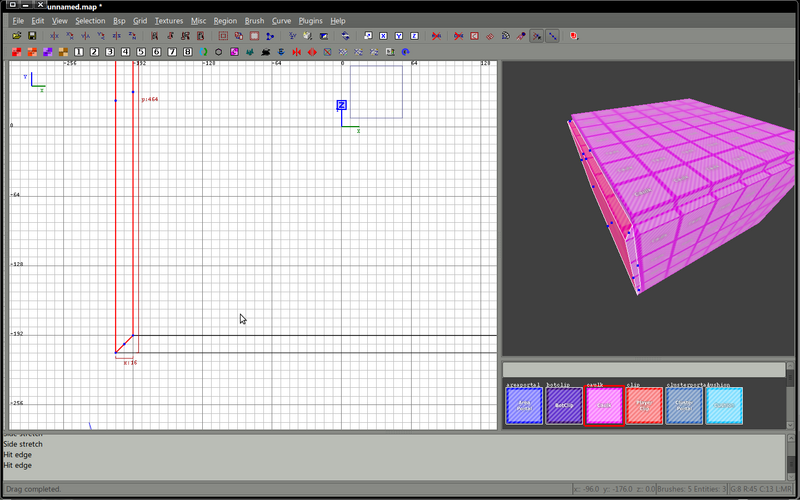
Brushes, the basic building blocks are created by dragging rectangular blocks. Working in the Y/X plane drag out a rectangle to form a floor. For the first 20 minutes or so you'll struggle to find the brush you just created in the 3d view but persevere
Select your floor, Shift and Click in the 2d or 3d window over the brush will do this. |
Make it caulk
|
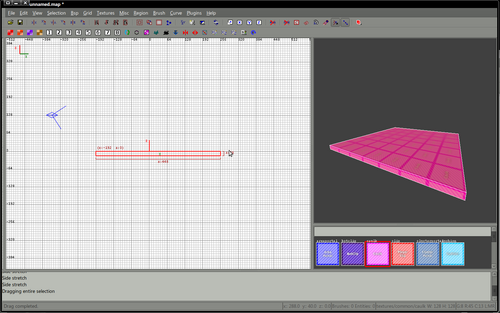
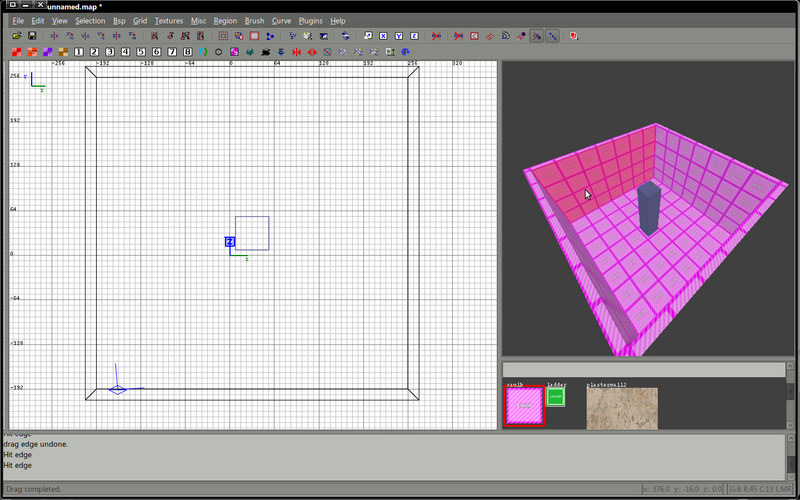
Having created your floor and selected it it's now time to open a set of shaders. Depending on how your radiant is configured you may or may not have loaded the common shaders as part of the start up, if not you'll need to load the common shaders. To do this:
If common isn't listed you should add common.shader to your shaderlist.txt which is usually in your mapping/scripts folder. The common shaders (caulk, botclip, playerclip, etc) should now be visible in your textures window. Click on the caulk texture. On my configuration and others I've used this is bright pink. Note: Radiant can be configured to always use a specific texture when it starts up. Plain installations can use anything. For the purpose of this tutorial I'll assume you've got |
Sizing the room
Earlier in this tutorial we downloaded the measurement entities and saved them to our mapping/scripts folder. The entities file define a set of useful measures that we can use to make our map feel the right size.
Right click in the 2d window,
A list of all the possible entities that can be added will be listed in the context menu.
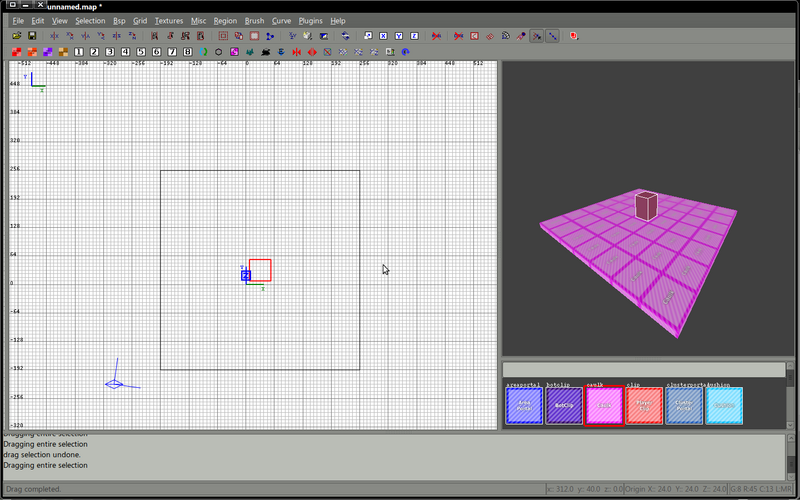
Select measure to open the measurement entities and select measure_player_stand
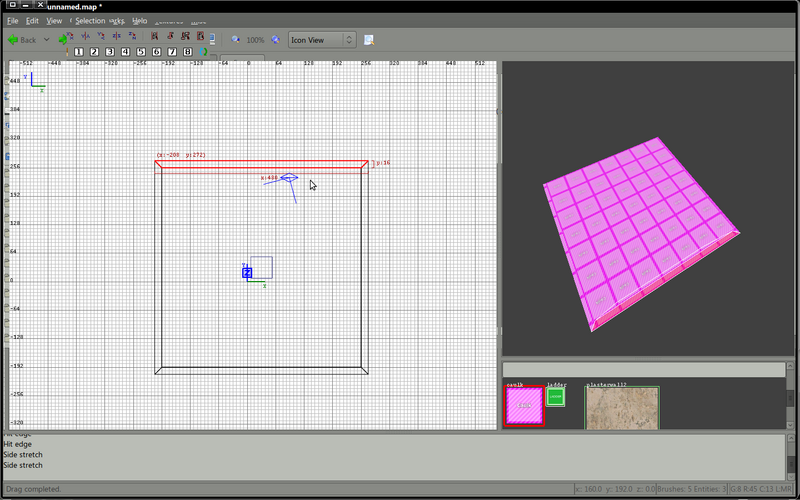
Move this object around so that it's standing on the floor and is roughly in the center of the brush you created, the brush should be 16 units in the Y plane (2 grid units when viewed with grid 8)
When you're happy that you have your entity placed correctly and you're happy with the size of your floor, select the measurement entity (shift right click) and press space to copy this.
Move the copy to stand on top of the first.
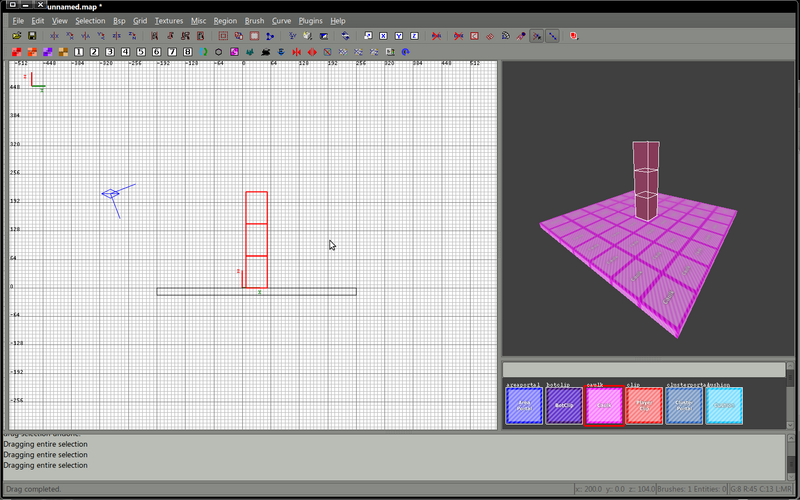
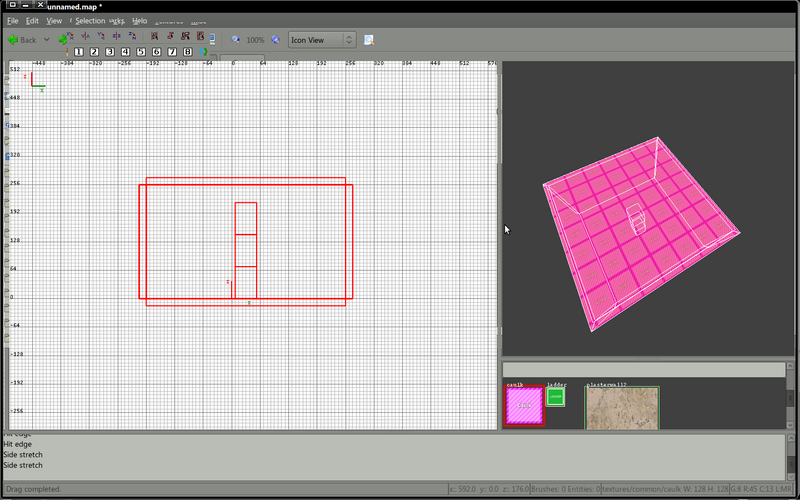
Copy this second entity and place that on top of the 2nd so you have a stack of 3 entities measuring 3 x the player height.
Build the walls
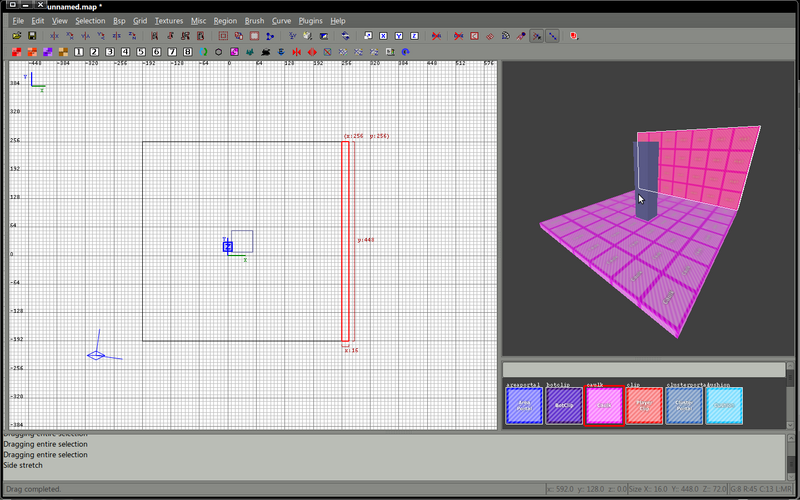
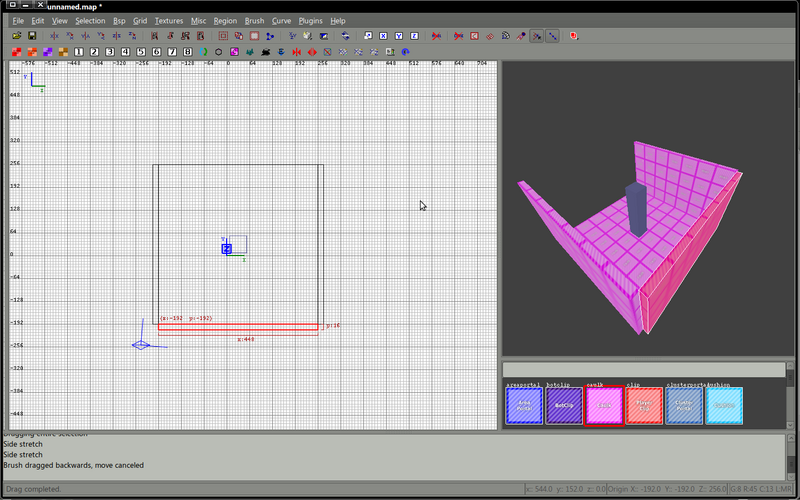
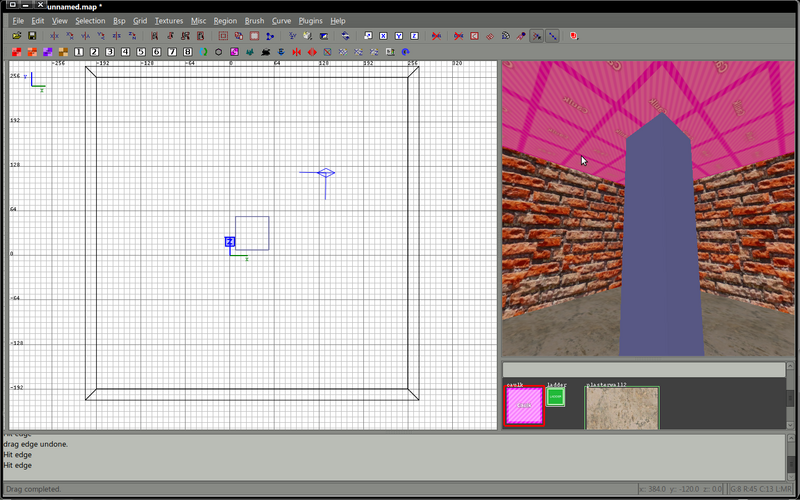
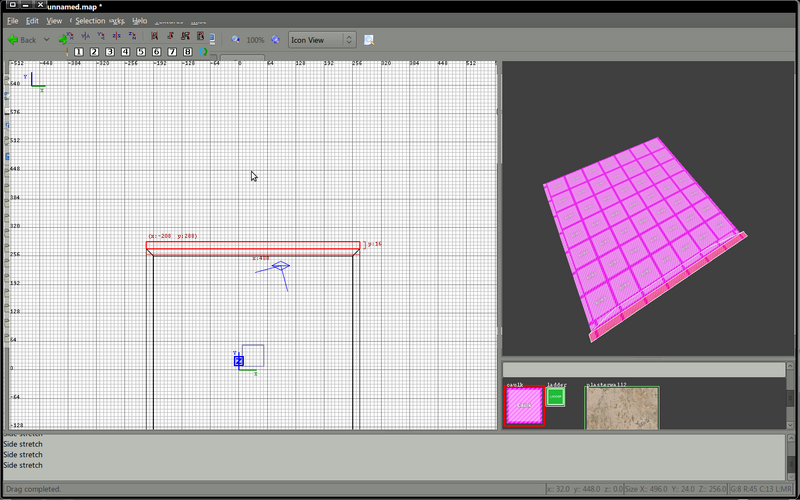
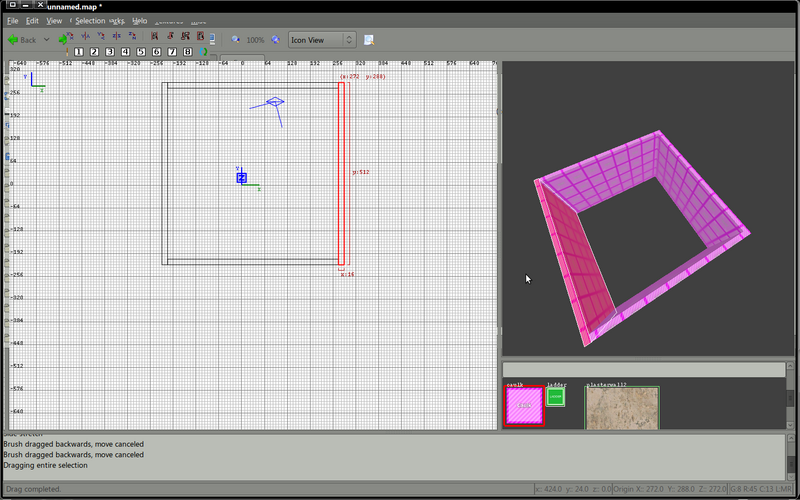
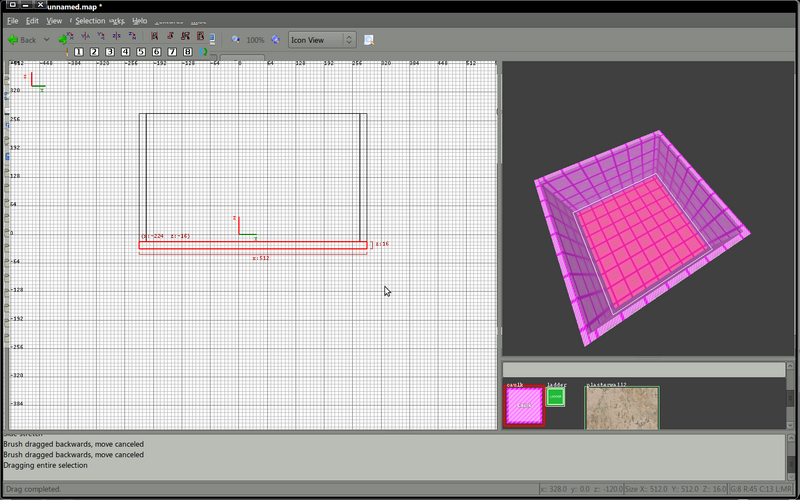
The next stage requires that we build 4 walls, these walls should be 16 units thick and as high as the 3 measurement entities. Start with any wall you wish, drag the wall brush next to the floor but never overlapping.
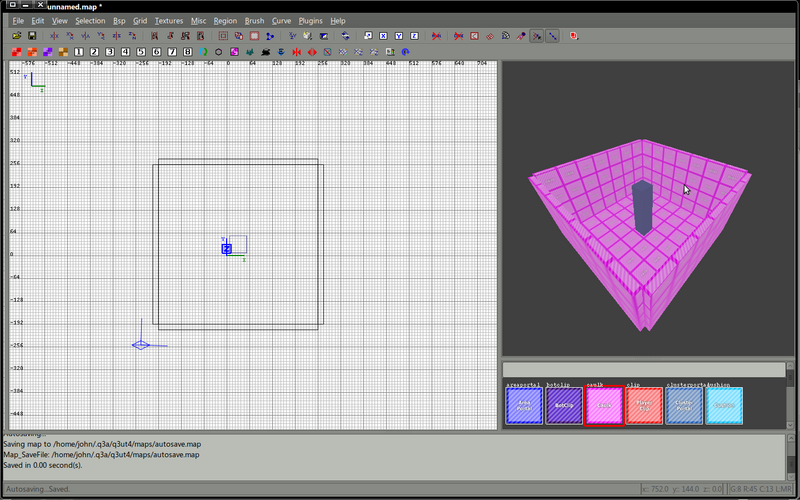
By copying the first brush (space) and by dragging the brush around you will eventually make walls that surround the floor brush.
Don't overlap any brushes. Eventually you'll have a scene which looks something like this.
Save the map at this point, Use - myfirstmap.map as your filename.
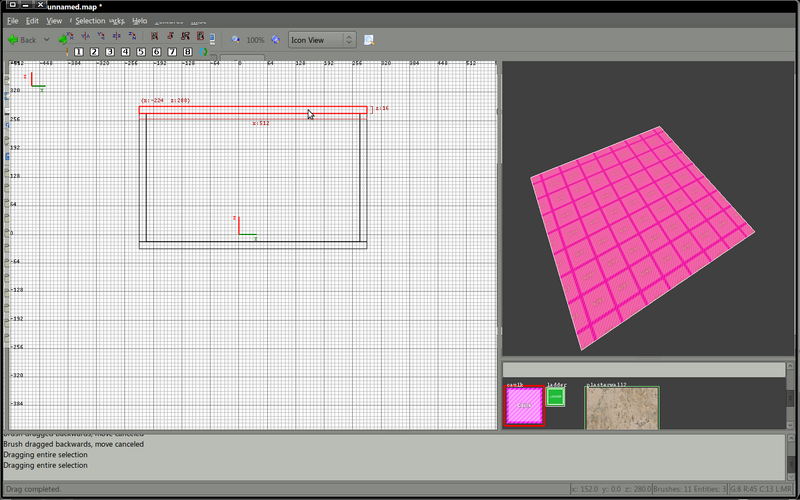
Add the ceiling
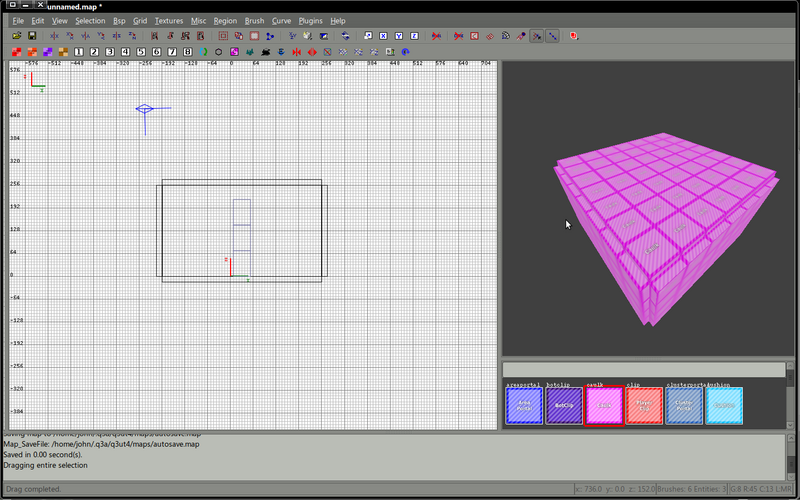
Select the floor, press space and drag the copy of the floor to be the ceiling
Using mitres
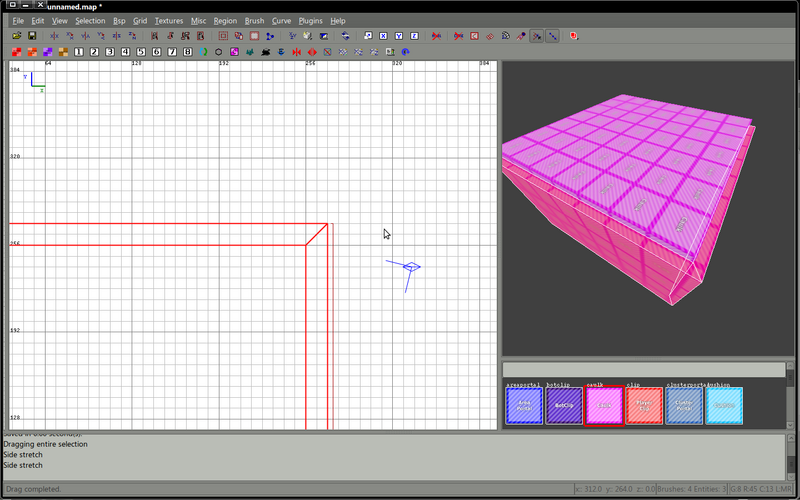
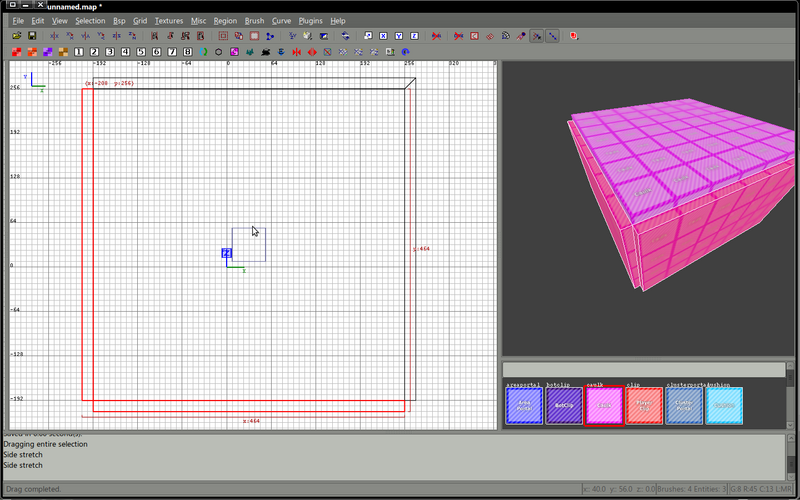
Although not strictly necessary this is a tutorial and it's perhaps good practice to sometimes use mitres to reduce the number of brush faces where 2 brushes connect. This method can help reduce light leaks and makes a much neater map.
There are a couple of different ways to created mitred joints, this tutorial will attempt to explain both methods, you can choose whether to use mitres or not and if you do, which method you prefer.
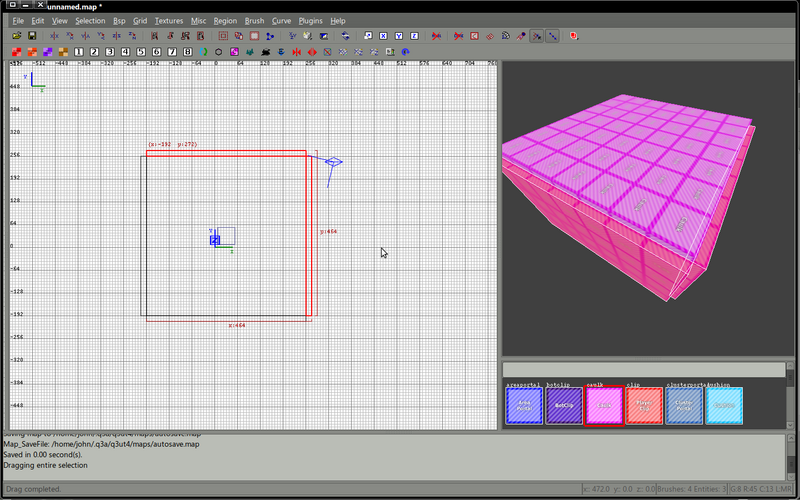
For example, these 2 walls.
Using the clipper tool
The clipper tool is one of the greatest assets available, it allows you to both split and delete brushes.
At first the clipper is daunting, you'll make many mistakes - please save your map at this point - just in case.
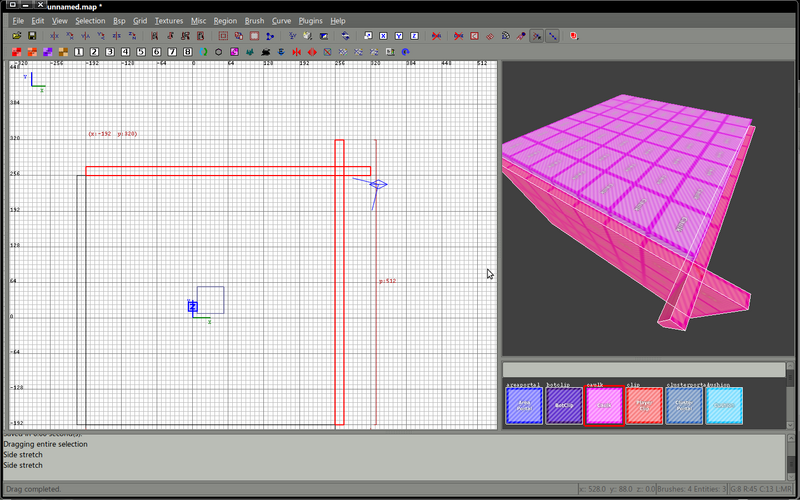
Make these 2 brushes over lap, extend the length of each brush so there is an overhang
Press X - you're now in clipper mode.
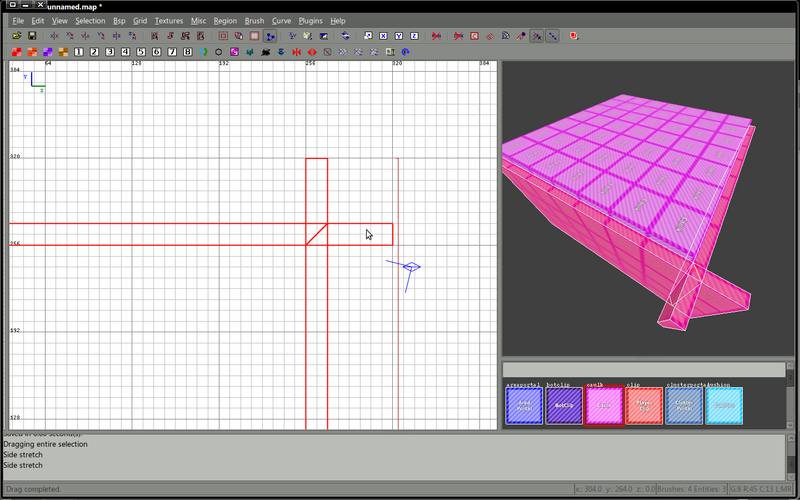
Click on the inside point where these brushes overlap
If you look closely at the previous example image you'll notice 2 little numbers - 1 & 2 - this is the order in which I clicked using the clipper tool, the editor has created a line between the points.
Press Shift and Enter to split these brushes - Please note Pressing Ctrl and Enter would have deleted the red area but for this tutorial we just want to split our brushes.
This has sub-divided the 2 overlapping brushes into 4 brushes, we no longer require the excess brushes, all we wanted to achieve was a mitre between the 2 walls so the excess can be deleted.
Select the excess brushes and press backspace to delete them.
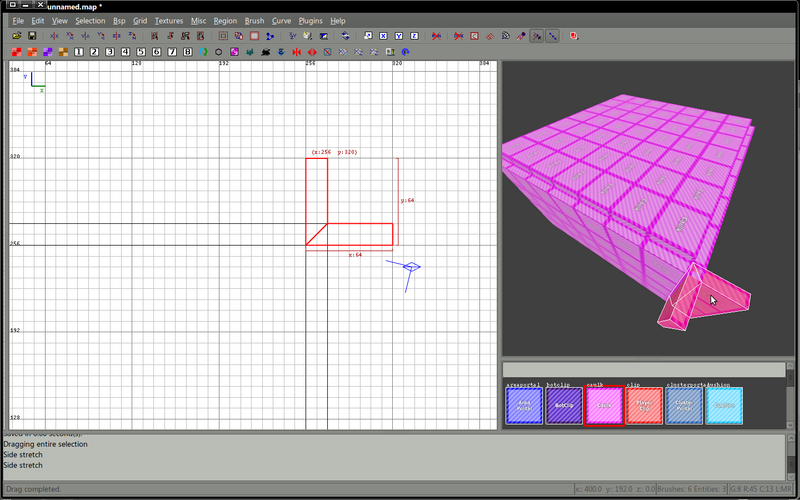
You're left with a perfect mitre, no additional brush faces are left.
Mitre with control points
The clipper method is only one way to create mitres, there is another, simpler way using control points.
It's important to always work in the same grid when constructing in this way, it's simple and you quickly remember how many units you must adjust by.
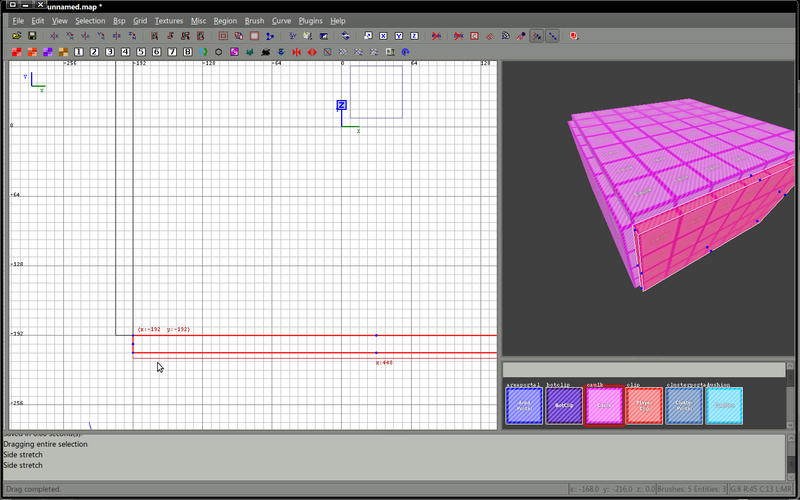
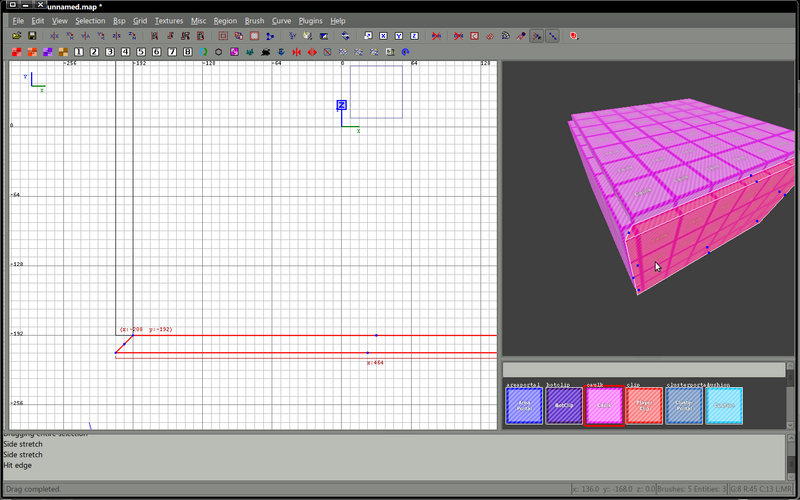
These 2 walls will be mitred in just a few clicks.
Select the first wall and press E - the control points will be displayed as small rectangles in the corner of your brush.
By dragging the small blue points it's possible to change the overall shape of a brush.
Move the control points so that the walls connect like this...
At this point you should use whichever technique you prefer to mitre all of the other walls.
Adding textures
With your walls constructed and mitred it's time to consider texturing those portions of the map that the player will see - NEVER use textures on areas that will not be seen. Its for this reason that construction should be using caulk brushes, texture only when construction is complete.
Select the roof brush and press H to hide it. The hide feature is very useful, several brushes can be hidden at a time by first selecting them and then pressing H
Load your textures
Previously we create a shader file called myfirstmap.shader in the mapping/scripts folder.
We added that shadername myfirstmap to the shaderlist.txt in the mapping/scripts folder.
We created a textures folder and saved 4 files to the folder mapping/textures/myfirstmap
It should now be possible to load that texture set into radiant and have them display in the textures window.
From the main menu click textures then click directory list
Choose myfirstmap and click ok.
Your textures should display in the textures window.
Texture one wall
Select ONE face of any of the wall brushes.
To select ONE face (not the entire brush) you will need to Press Shift and click the face you wish to select in the 3d view.
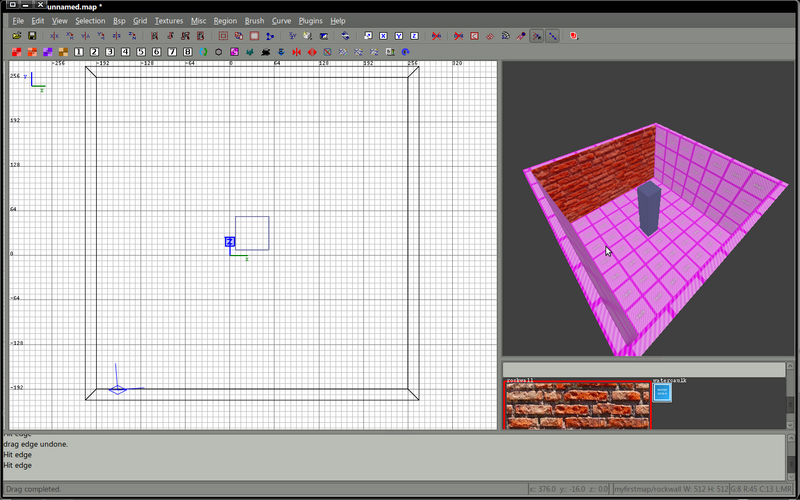
With that face selected find the brick.jpg image in your textures window and click it. The brick texture will be applied to the selected face.
Texture 3 more walls
You can select multiple faces at the same time, to do this Press Shift, Ctrl, Alt and Click another face in the 3d view, click again to unselect.
With the final 3 faces selected click the brick.jpg image once more in the textures window
Texture the floor
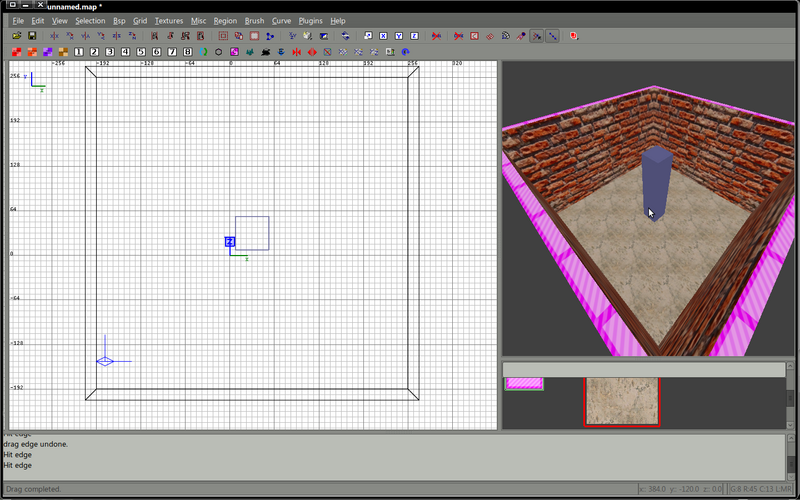
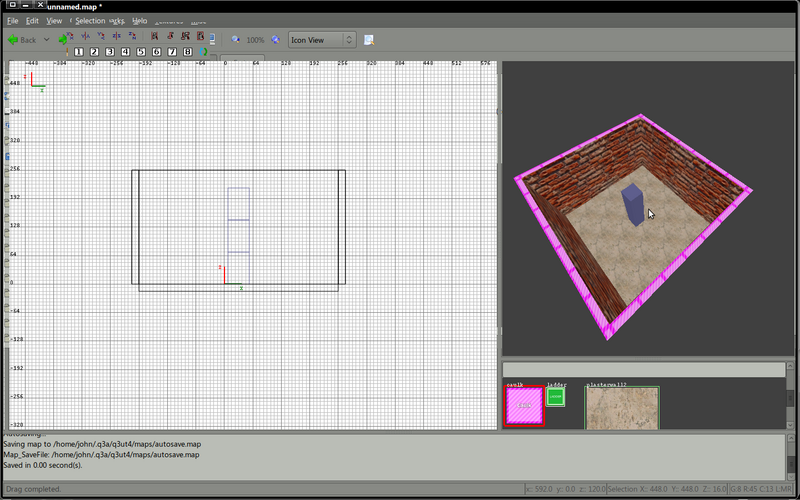
Select the floor face and click the plaster.jpg image in the textures window, this will texture the floor of your map.
Texture the ceiling
You'll need to fly inside your map in the 3d view to add the final texture, before you do this press Shift H to un-hide any previously hidden brushes.
Once you've found how to move around and you're inside your map, select the ceiling brush face (only the face)
Texture this face with the plaster.jpg image in your materials view.
Congratulations - you've built and textured your first room - almost.
Structural brushes and detail brushes
A couple of things to consdier.
- Structural brushes should not be textured
- Detail brushes with texture block visability
This tutorial is not intended as an in-depth discussion about structural and detail brushes for that you should read the topic Mapping:Structural and detail brushes
If you follow the rule "structural brushes should not be textured" then an interesting problem arises with our current map, it's constructed entirely from structural brushes (by default a brush is structural).
We've textured our brushes which means we must convert them to detail, there are a few ways to select entire maps, I'll describe only one here.
Create a brush which totally surrounds your room.
You might need to flip between 2d views to fully enclose your map
With your map totally surrounded by this new brush, from the main menu selection, then select -> inside
This will select everything enclosed by the brush
Press Ctrl M to convert these brushes to detail brushes.
Add structural brushes
Your entire map is made from detail brushes, in this state you will not be able to compile your map, it will most likely leak.
Our next task is to encase your room in a structural caulk hull.
To do this we first need to select a will, this will set the default height of the next brush we draw.
Create a new brush touching the wall and the same (16 units, 2x8 units wide)
Make sure this brush is as high as your detail brush walls and floor and ceiling.
By copying and dragging the first brush create a solid wall around your map.
Press Ctrl Shift D to hide all detail brushes - lol - all your map dissapears!! Don't worry, it's still there, press Ctrl Shift D and it will come back, press again to hide it.
Create a floor for your new structural box
Copy the floor up to be the top
Hide the structure
Press Ctrl D to make the rest of your map dissapear for a moment, Ctrl D hides structural brushes and you'll probably use this a lot. I tend to work on either structure or detail so at anyone time I can see either one of the other.
Remember Ctrl D will also flip the state and re-show the hidden structural brushes but for now keep them turned off.
Show the detail
Ctrl Shift and D will show or hide detail brushes - Press this to show the detail brushes in your map.
We now have to light our map.
Adding lights
Current trends seem to be moving towards the idea that lots of little lights are better than one big mother f*cker of a light. I subscribe to this theory and we'll add 4 lights to light our room
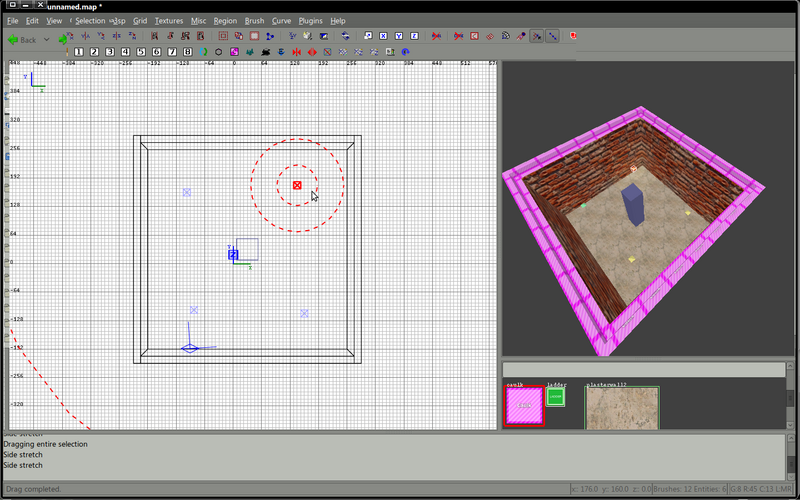
Right click inside your room and select light from the list of possible entities.
A small type-in may appear insisting that you enter a value. Enter something low between 40 and 70 and click OK. We can change this value from the entity inspector window.
Move the light into a corner of the room, move it half way up the height of the room, not too close to any other brushes.
When you're happy with the placement, and with the light still selected we will inspect this lights properties.
Do this now by pressing N with your light selected. N opens up the entity inspector whenever you have something selected, if you don't have anything selected the worldspawn settings are displayed. For more information about the Worldspawn see the topic Entities:World Spawn
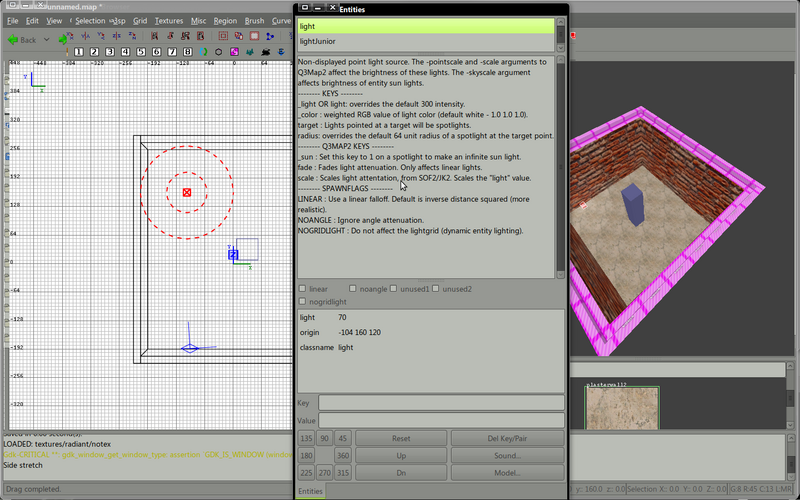
You can change the light value here to increase or decrease intensity.
Close the entity inspector window when you've finished reading, adjusting.
Pretty colours
Press K with your light selected, choose a nice colour for your light from the pallette, it's your map, choose what you like.
Close this box when you've selected the colour.
Many lights
With the light selected, make 3 copies (press space to copy an object) and move these lights to each corner of your room. Not too close to a wall.
Info Player Start
With your map constructed and lighting added we must now add an entry point into your map. All maps must have at least one of these entities.
Right click inside your map away from walls and lights and select info -> info_player_start
Move this around so it's just above the floor.
Compiling your first map
HELP HELP HELP
Are all radiants the same - do they all come with a compiler of some description?
COMPILE INSTRUCTIONS NEEDED FROM INSIDE RADIANT IF POSSIBLE
