Models:Misfit Model tutorial light bulb
This tutorial assumes you've downloaded and installed Misfit Model 3d and it works.
Contents
Before we begin
Misfit can save md3 models natively - however, in order for this to work properly you should work in the final location that your model will be loaded from.
In my case I have a models folder in my mapping folder, in the models folder I have a mapobjects folder. All your work should be in a seperate sub-folder of this.
For example : this tutorial model will be called the cmm lightbulb.
Create a folder mapping/models/mapobjects/cmm_lightbulb
All our work will be in this folder - graphics and model.
Textures
If you'd like to follow along with this tutorial, first download the following textures.
Save the images to your mapping/models/mapobhects/cmm_lightbulb folder as
- bulb.jpg
- plastic.jpg
Open Misfit Model 3d
|
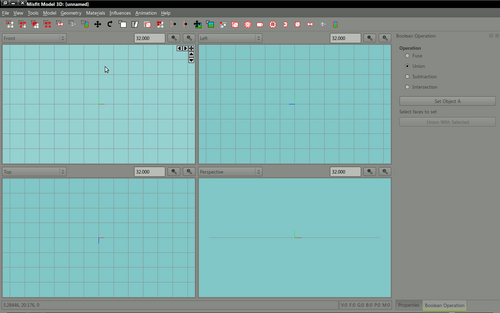
Open misfit model 3d - the basic layout should be familiar to anyone who's previously dabbled with 3d modelling applications. The default display shows views of front, left, top and perspective which is a rendered preview of your model. |
Setting up your materials and groups
|
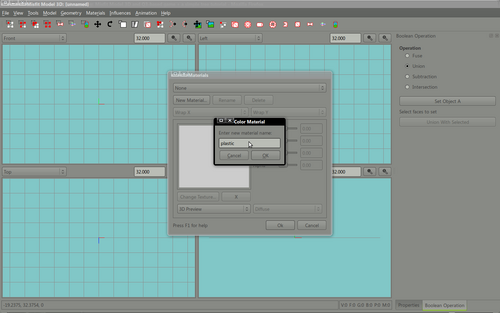
Before we begin to create our model we will first set up the materials (textures, images) and the material groups. These are used by misfit to dress your image and later exported with the model information. From the main menu select materials. Click new material and type plastic. Cick ok to save this material. Click the Change texture button and locate the file mapping/models/mapobjects/cmm_lightbulb/plastic.jpg and assign it to this material. Repeat the process for the bulb.jpg image (add a new material called bulb, assign the bulb image to that material). |
Build the bulb
|
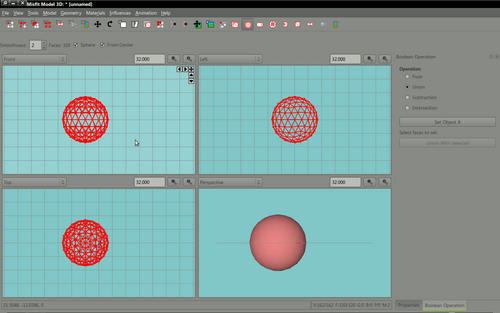
We start by creating an ellipsoid, click the icon on the toolbar that looks like a small ball or select create ellipsoid from the main tools menu. Drag the ball to be roughly the size you like and then move this to the center of the display. It may take you a few minutes to work out how to use the interface, it's pretty simple. The first 4 buttons on the toolbar represent the following actions
We will select some of the vertices and drag them upwards to create a better bulb shape. Click Select vertices, select the top 4 rows of vertices by dragging the selection rectangle around the area you wish to select.
|
