Difference between revisions of "Creating a skybox from a photograph"
(Created page with "==Introduction and sources== This tutorial is done in, and assumes familiarity with, Photoshop, but I can't see why the same principles wouldn't work in other image editors. Th...") |
(No difference)
|
Revision as of 12:50, 4 December 2011
Introduction and sources
This tutorial is done in, and assumes familiarity with, Photoshop, but I can't see why the same principles wouldn't work in other image editors.
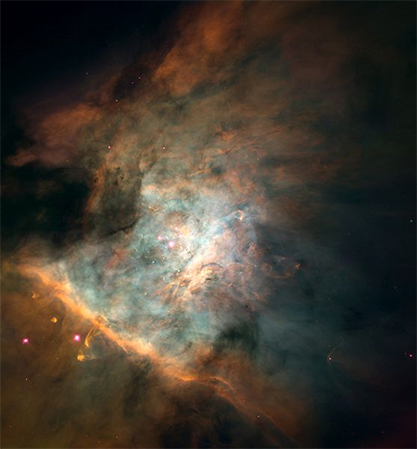
The picture used in it was taken from here.
The skybox from the tutorial is available in .TGA and Source format here.
Before we get started
I should point out that this method is quite inefficient, as while there won't be any seams that are outright visible, there will be somewhat noticeable distortion around the edges of each skybox face; this is due to a lack of proper 90-degree field-of-view in the 2D image. Probably the best method out there for working with 2D imagery would be to texture a sphere in a modeling program with the reference picture, and rendering out six cameras for each direction; this would fix the perspective issue.
Instead, this method should be used for quick mock-ups, or if there is no other option, as it is largely useful for incoherent images, such as outer space.
Find an image
Make sure the reference image is a nice, high resolution; skyboxes use textures that are usually 1024x1024 pixels each.
In my case, I will use a picture of a nebula I took from Wikipedia; the image is a monstrous 2730x2940 pixels, but is not big enough to contain six 1024^2 faces, so I will have to downsize the faces to the next availbe power of two: 512x512.
Create a grid
Open up the image in Photoshop and, using Guides, begin laying down a grid of regular 1024x1024 (or, in my case, 512x512) squares.
