Difference between revisions of "Models:Misfit Model tutorial light bulb"
(→Open Misfit Model 3d) |
(→Open Misfit Model 3d) |
||
| Line 32: | Line 32: | ||
| | | | ||
[[File:Lightb_1.png|500px]] | [[File:Lightb_1.png|500px]] | ||
| + | |} | ||
| + | |||
| + | |||
| + | ==Setting up your materials and groups== | ||
| + | {| width="100%" style="padding-left:5%;" | ||
| + | |style="padding-right:5%;vertical-align:top"| | ||
| + | |||
| + | |||
| + | | | ||
| + | File:Lightb 3.png | ||
|} | |} | ||
Revision as of 09:33, 29 August 2011
This tutorial assumes you've downloaded and installed Misfit Model 3d and it works.
Before we begin
Misfit can save md3 models natively - however, in order for this to work properly you should work in the final location that your model will be loaded from.
In my case I have a models folder in my mapping folder, in the models folder I have a mapobjects folder. All your work should be in a seperate sub-folder of this.
For example : this tutorial model will be called the cmm lightbulb.
Create a folder mapping/models/mapobjects/cmm_lightbulb
All our work will be in this folder - graphics and model.
Textures
If you'd like to follow along with this tutorial, first download the following textures.
Save the images to your mapping/models/mapobhects/cmm_lightbulb folder as
- bulb.jpg
- plastic.jpg
Open Misfit Model 3d
|
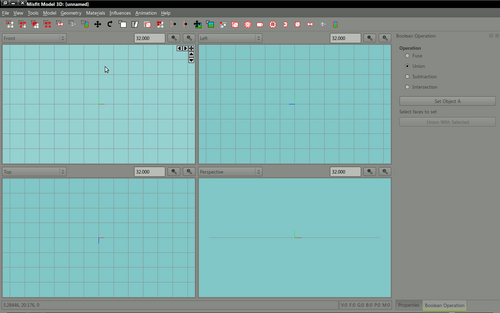
Open misfit model 3d - the basic layout should be familiar to anyone who's previously dabbled with 3d modelling applications. The default display shows views of front, left, top and perspective which is a rendered preview of your model. |
Setting up your materials and groups
|
|
File:Lightb 3.png |


