Difference between revisions of "Mapping:Create your first room"
(→First steps) |
(→Before we begin) |
||
| Line 8: | Line 8: | ||
I'm assuming before this tutorial begins that you have a correctly configured radiant, it doesn't matter which, the principles are pretty similar in all versions. | I'm assuming before this tutorial begins that you have a correctly configured radiant, it doesn't matter which, the principles are pretty similar in all versions. | ||
| − | If you've not yet configured radiant please see one of the sections about installing | + | [[File:Screenshot.png|800px]] |
| + | |||
| + | If it doesn't look slightly similar to this or If you've not yet configured radiant please see one of the sections about installing | ||
*links to installing | *links to installing | ||
| − | |||
==First steps== | ==First steps== | ||
Revision as of 18:35, 20 August 2011
| |
This page is work in progress! |
Contents
Introduction
This tutorial aims to help you create your first room and, your first map. The tutorial isn't meant to be "the best way", it's been created to introduce you to good practice, neat brushwork and a consideration of a 10 year old engine (soon to be given a new lease of life).
Before we begin
I'm assuming before this tutorial begins that you have a correctly configured radiant, it doesn't matter which, the principles are pretty similar in all versions.
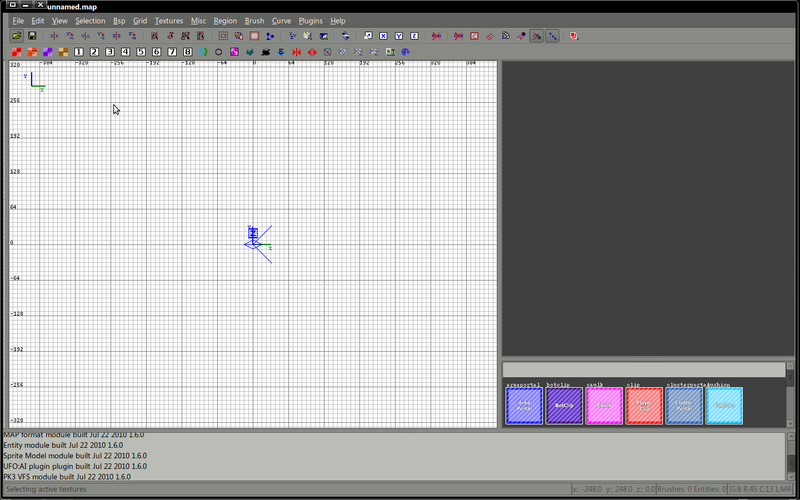
If it doesn't look slightly similar to this or If you've not yet configured radiant please see one of the sections about installing
- links to installing
First steps
Before you begin any mapping project you should choose a name for the project and create an empty folder in your textures folder with that name. For the purpose of this tutorial our map is called myfirstmap, it's short and snappy and easy to remember.
Create a folder in your mapping/textures folder called myfirstmap
Find your shaderlist.txt file, normally this will be in the mapping/scripts folder. Open this with a text editor.
Somewhere in this file, add the single line
myfirstmap
Save the file and close the editor.
In order to know how large things in map world are in urban terror the game it's important to have a reference. Luckily somebody created a set of entities which help.
Download the file measure.def Right click and save target
If anyone knows the name of the person who created this we should give credit.
Move this file to your mapping/scripts folder.
Textures / images
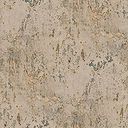
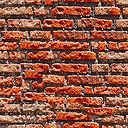
For the purpose of this tutorial you'll need a couple of images. Download these 2 files and save them to your mapping/textures/myfirstmap folder
Save these files as plaster.jpg and bricks.jpg -
Additionally download these files and save them to your mapping/textures folder
Save these as water.jpg and watercaulk.jpg
Create a shaders file
In your mapping/scripts folder create a new file called myfirstmap.shader and open it with a text editor.
Paste in the following lines, they're not important at this stage but will be needed in another tutorial later.
textures/myfirstmap/watercaulk
{
   qer_nocarve
   qer_trans 0.40
   qer_editorimage textures/watercaulk.tga
   surfaceparm nodraw
   surfaceparm nolightmap
   surfaceparm nonsolid
   surfaceparm trans
   surfaceparm nomarks
   surfaceparm water
}
///////////////////////////////////////////////////////////////
textures/myfirstmap/ladder
{
   qer_editorimage textures/ladder.jpg
   qer_trans .40
   surfaceparm ladder
   surfaceparm nodraw
   surfaceparm nolightmap
   surfaceparm nonsolid
   surfaceparm trans
   surfaceparm nomarks
   surfaceparm noimpact
   surfaceparm playerclip
}
Save this file and close the text editor, the preparation work is complete it's now time to open radiant.
Open Radiant
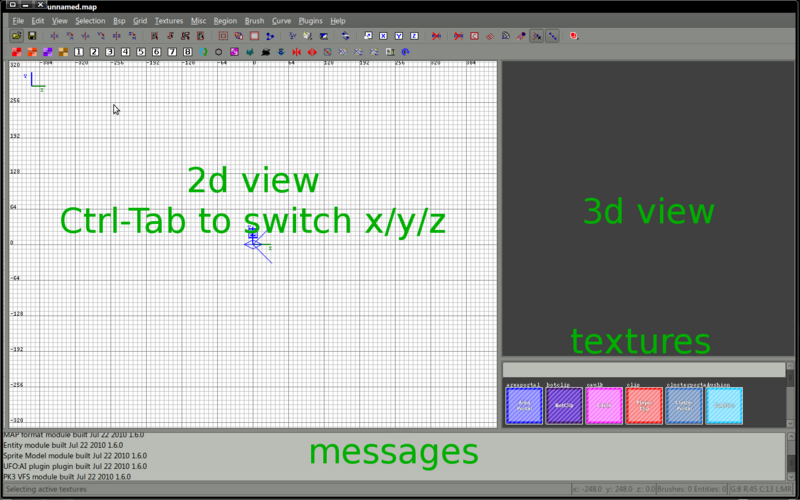
Start radiant, after a few moments it will start and have a layout similar to this

It may look slightly different but all of the important windows will be visible.
- 2d view
- 3d view
- Textures
- Mesages
If not, you've seriously done something wrong and should leave now or read a topic about fixing radiant... needs one
Most work will take place in the 2d section. To switch beween 3d projections use the CTRL-Tab key. This will cycle between Y/X Z/X and Z/Y - basically top, side, other side
For the purpose of this tutorial work in units of 8. Check that this is your current selection by the grid menu option or by pressing 4
Create your first brush, the floor
Brushes, the basic building blocks are created by dragging rectangular blocks.
Working in the Y/X plane drag out a rectangle to form a floor. For the first 20 minutes or so you'll struggle to find the brush you just created in the 3d view but persevere
Having created your floor you should move this to the center of the map, this isn't really important. As long as you can see your floor in both the 2d and 3d views you can work anywhere.
Select your floor, Shift and Click in the 2d or 3d window over the brush will do this.
Make it caulk
Having created your floor and selected it it's now time to open a set of shaders.
Depending on how your radiant is configured you may or may not have loaded the common shaders as part of the start up, if not you'll need to load the common shaders.
To do this:
- Click textures on the top menu
- Select Directory list
- Choose common
If common isn't listed you should add common.shader to your shaderlist.txt which is usually in your mapping/scripts folder.
The common shaders (caulk, botclip, playerclip, etc) should now be visible in your textures window. Click on the CAULK texture. On my configuration and others I've used this is bright pink.
Radiant can be configured to always use a specific texture when it starts up. Plain installations can use anything. For the purpose of this tutorial I'll assume you've got


