Difference between revisions of "How to make a sky using 3dsmax7"
| Line 8: | Line 8: | ||
In my example, I've created 4 basic materials, one for the sky which is a simple blend between 2 blues and 3 other simple reflective materials for the geometry inside the box. | In my example, I've created 4 basic materials, one for the sky which is a simple blend between 2 blues and 3 other simple reflective materials for the geometry inside the box. | ||
| + | |||
| + | The sky itself can be anything that can be mapped using 3dsmax, so photographs, panaramas, simple gradients, anything at all. | ||
| + | |||
| + | [[File:Sky t2.png|right|260px]] | ||
| + | |||
| + | Start by creating a geosphere object in max, using the type-in rollout make the diameter 100 units, this is important later on. | ||
| + | |||
| + | The geosphere can be converted to a hemi-sphere using the checkbox in the rollout. | ||
Revision as of 14:53, 17 December 2011
This simple tutorial will I hope explain how to create a sky for Urban Terror or other games which use a cubic skybox.
A skybox is basically a collection of 6 images which when applied to brushes in your map will draw as a wrapped sky.
For the purpose of this tutorial I'll create a simple sky with a few simple elements to show the technique.
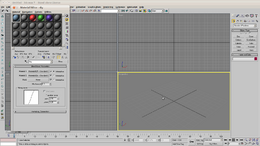
In my example, I've created 4 basic materials, one for the sky which is a simple blend between 2 blues and 3 other simple reflective materials for the geometry inside the box.
The sky itself can be anything that can be mapped using 3dsmax, so photographs, panaramas, simple gradients, anything at all.
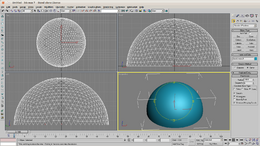
Start by creating a geosphere object in max, using the type-in rollout make the diameter 100 units, this is important later on.
The geosphere can be converted to a hemi-sphere using the checkbox in the rollout.

