Difference between revisions of "Mapping:Create your first room"
(→Where to start?) |
|||
| Line 15: | Line 15: | ||
{| width="100%" style="padding-left:5%;" | {| width="100%" style="padding-left:5%;" | ||
|style="padding-right:5%;vertical-align:top"| | |style="padding-right:5%;vertical-align:top"| | ||
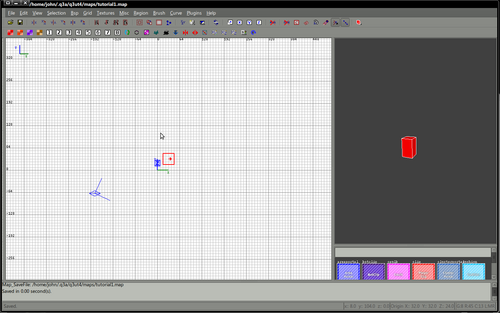
| − | + | Right click on your 2d view - the entities that you can add to your map will be listed. | |
| + | |||
| + | We will add an info_player_start, so select the info -> info_player_start | ||
| + | |||
| + | This will add a small (possibly red) rectangle to your map. | ||
| + | |||
| + | You should now be able to move this item around in the 2d view. | ||
| + | |||
| | | | ||
| − | [[file:tut1.png| | + | [[file:tut1.png|500px]] |
|} | |} | ||
Revision as of 06:57, 27 August 2011
Before you start
|
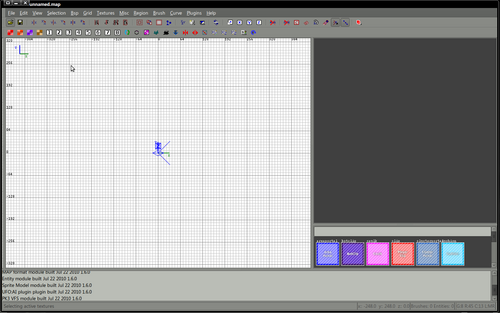
I'm assuming before this tutorial begins that you have a correctly configured radiant, it doesn't matter which, the principles are pretty similar in all versions. If it doesn't look slightly similar to this or If you've not yet configured radiant please see one of the sections about installing
If you're happy that your radiant shares similarities with the image above you may now close radiant, it's not required for the next 10 minutes, we have to prepare. |
Where to start?
|
Right click on your 2d view - the entities that you can add to your map will be listed. We will add an info_player_start, so select the info -> info_player_start This will add a small (possibly red) rectangle to your map. You should now be able to move this item around in the 2d view.
|

