Difference between revisions of "Mapping:HowTo:Realistic Water"
Majkifajki (talk | contribs) (First version of Norman's tutorial.) |
m (moved Mapping:HowTo:Fancy Water to Mapping:HowTo:Realistic Water) |
(No difference)
| |
Latest revision as of 10:51, 23 August 2011
The Textures
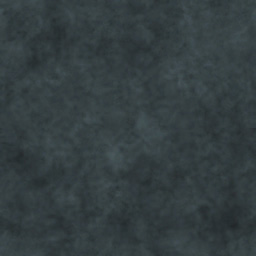
First, we take care of the textures we will need. The texture "water" is a normal .jpg (RGB-mode saved in 'Baseline-Standard').
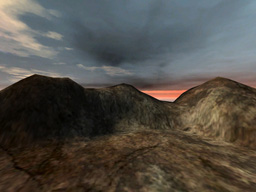
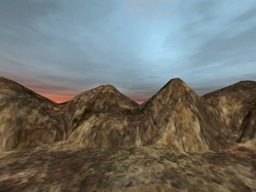
"env_water" is our environment texture and also a .jpg (RGB-mode saved in 'Baseline-Standard'). To get it we have have to build a testmap. That testmap should consist of the skybox (with lighting), a skyportal (if needed) including your basic/background terrain and an info_playerstart. After compile you start the map (devmap [mapname]) and type following two commands into the console:
cg_draw2d 0
cg_drawgun 0
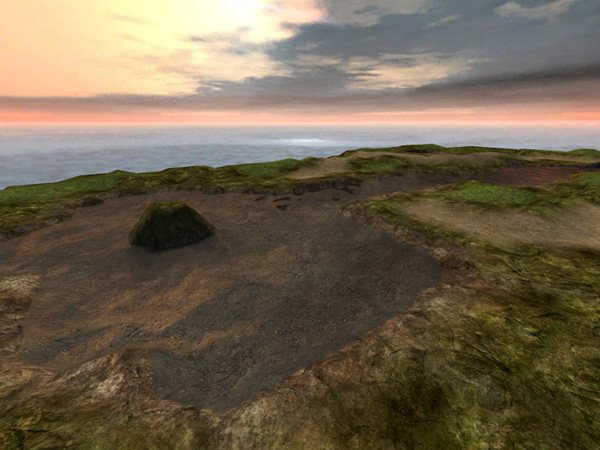
After that you change into first-person view and take 2 screenshots of the map. Just go in the middle of your map and take a shot after every 90° while turning around. If possible, avoid very bright spots on those screenshots.
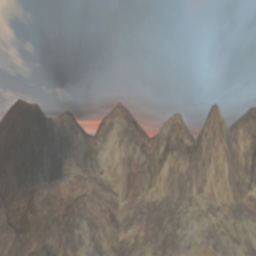
Now merge both pics together by using a graphics program such as Photoshop or GIMP. Then scale it till it has a texture format (1024x1024 pixel should be more than enough). Now use the Motion Blur Filter to make it unsharp. Last but not least bright it up around 75% and save it as .jpg (RGB-mode saved in 'Baseline-Standard').
The Shader
textures/mymap/fancywater 	// name of the texture (in Radiant)
{
    qer_editorimage textures/mymap/fancywater 	// picture of the shader in Radiant
    sort banner 	// depth sorting of shaders
    qer_trans 0.8 	// transparency in Radiant
    surfaceparm nonsolid 	// surface is non solid
    surfaceparm nonopaque 	// surface is transparent
    surfaceparm trans 	// surface is transparent 2
    surfaceparm water 	// water characteristics
    q3map_material Water 	// water characteristics 2
    tessSize 128 	// divides Brushes into 128x128 Brushes
    deformvertexes normal 0.1 1.85 	// undulation
    deformvertexes wave 128 sin 0 1 0.3 2 	// undulation 2
    {
    map textures/mymap/fancywater 	// basic texture
    blendFunc GL_ONE GL_SRC_ALPHA 	// transparency
    rgbGen const ( 0.5 0.5 0.5 ) 	// weakens colors 50%
    alphaFunc GE128 	// filters black
    alphaGen const 1.0 	// alpha-channel attitudes
    tcmod scroll 0 -0.25 	// texture scrolling (optional)
    }
    {
    map textures/mymap/env_fancywater	// environment texture (reflectivity)
    tcGen environment 	// makes this an environment stage
    rgbGen const ( 0.5 0.4 0.4 ) 	// (red stronger than green & blue)
    blendFunc GL_ONE GL_ONE 	// transparency
    }
    {
    map textures/mymap/env_fancywater 	// environment texture (reflectivity)
    tcGen environment 	// makes this an environment stage
    blendFunc GL_DST_COLOR GL_ZERO 	// transparency
    }
    {
     map $lightmap 	// lightmap stage
     blendFunc GL_DST_COLOR GL_ZERO 	// transparency
    }
}
Pack shader and texture into a .pk3 and move it into your base folder. Also, don't forget to put shader.file containing water texture in your shaderlist.txt.
Ingame
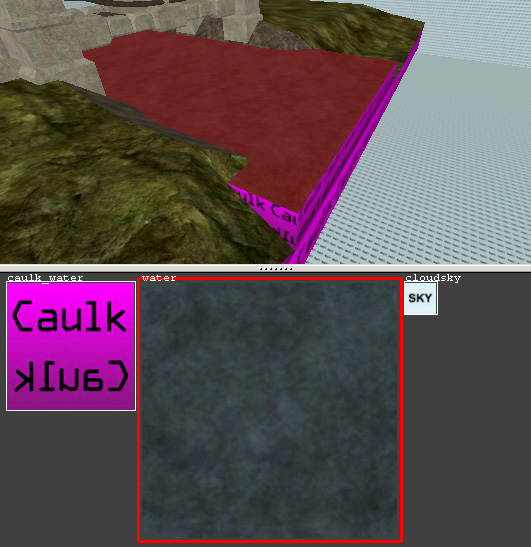
To use the new water, create a brush and give it the "system/caulk_water" texture. Now select the visible sites of the brush (ctrl+shift+alt+left mouse button in 3d window) and give those the new "mymap/water" texture.
Compilation time!
Editor's note:
This article is based on Norman Paschke's tutorial. CMM Wiki Editors has copied it with author's permission.
