Difference between revisions of "Models:Misfit Model tutorial light bulb"
(→QC file) |
(→QC file) |
||
| Line 271: | Line 271: | ||
$flags 0 | $flags 0 | ||
| + | Save this file, load up radiant. | ||
| + | Right click in the 2d view, select misc->misc_model from the entities list. For the model itself, select the lightbulb.md3 file from the mappingmodels/mapobjects/cmm_lightbulb folder. | ||
| + | |||
| + | A lightbulb!! | ||
| | | | ||
| − | |||
[[File:Lightb 45.png|500px]] | [[File:Lightb 45.png|500px]] | ||
|} | |} | ||
Revision as of 11:46, 29 August 2011
This tutorial assumes you've downloaded and installed Misfit Model 3d and it works.
Contents
Before we begin
Misfit can save md3 models natively, this saves a great deal of time and effort if you wish to create your own models for inclusion in your maps - however, in order for this to work properly you should work in the final location/folder that your model will be loaded from.
In my case I have a models folder in my mapping folder, in the models folder I have a mapobjects folder. All your work should be in a seperate sub-folder of this.
For example : this tutorial model will be called the cmm lightbulb.
Create a folder mapping/models/mapobjects/cmm_lightbulb
All our work will be in this folder - graphics and model.
Textures
If you'd like to follow along with this tutorial, first download the following textures.
Save the images to your mapping/models/mapobhects/cmm_lightbulb folder as
- bulb.jpg
- plastic.jpg
Open Misfit Model 3d
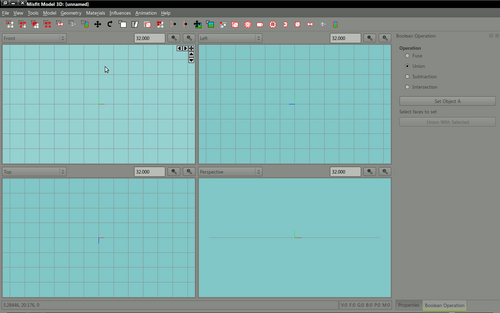
|
Open misfit model 3d - the basic layout should be familiar to anyone who's previously dabbled with 3d modelling applications. The default display shows views of front, left, top and perspective which is a rendered preview of your model. |
Setting up your materials and groups
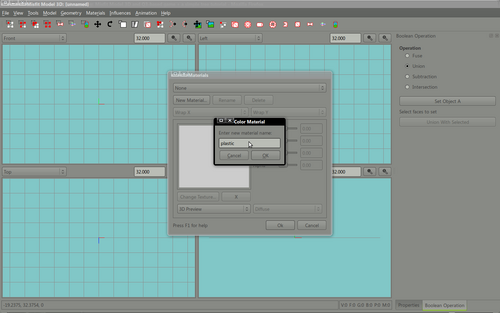
|
Before we begin to create our model we will first set up the materials (textures, images) and the material groups. These are used by misfit to dress your image and later exported with the model information. From the main menu select materials. Click new material and type plastic. Cick ok to save this material. Click the Change texture button and locate the file mapping/models/mapobjects/cmm_lightbulb/plastic.jpg and assign it to this material. Repeat the process for the bulb.jpg image (add a new material called bulb, assign the bulb image to that material). Having created your basic materials we now need to create matching groups - groups are used to group materials and permit our model to use the same material over several objects. In this example many parts will be made from the plastic material. From the materials menu select groups, create a new group called plastic, link the material plastic to this group. Create another group called bulb and link this to the bulb material. |
Build the bulb
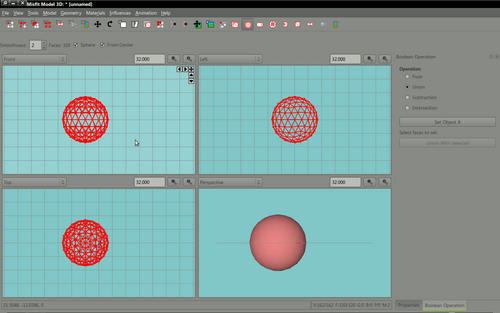
|
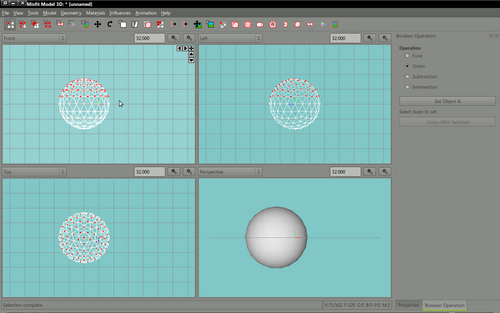
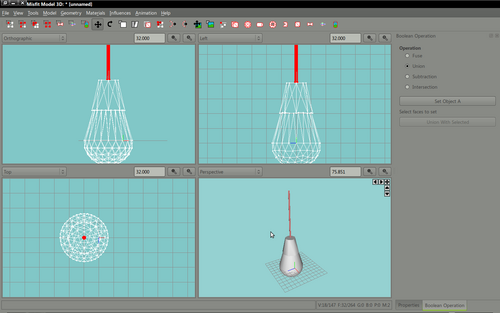
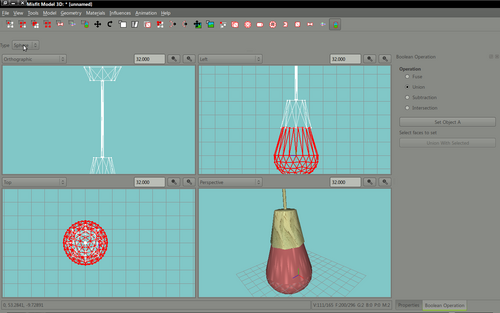
We start by creating an ellipsoid, click the icon on the toolbar that looks like a small ball or select create ellipsoid from the main tools menu. Drag the ball to be roughly the size you like and then move this to the center of the display. It may take you a few minutes to work out how to use the interface, it's pretty simple. The first 4 buttons on the toolbar represent the following actions
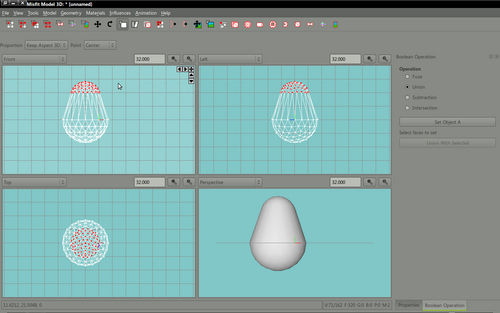
We will select some of the vertices and drag them upwards to create a better bulb shape. Click Select vertices, select the top 4 rows of vertices by dragging the selection rectangle around the area you wish to select. The buttons on the main toolbar in positions 8 (4 arrows) and onwards have the following functions
Select the move button. Press Shift (this locks the rotation, scale or movement to grid actions) and drag the selected vertices upwards to create a lozenge shape. An elongated ellipse. Now click the Scale button with the same vertices selected and reduce the size, this will create an egg shape which is similar to a light bulb. Feel free to continue to scale and move your vertices until you're happy with the shape. The final step involves remove (deleting) the top 3 rows of vertices, we do not need these. With the vertex selection button selected draw a rectangle capturing the very top 3 rows of vertices and press delete.
|
Create the bulb cap
|
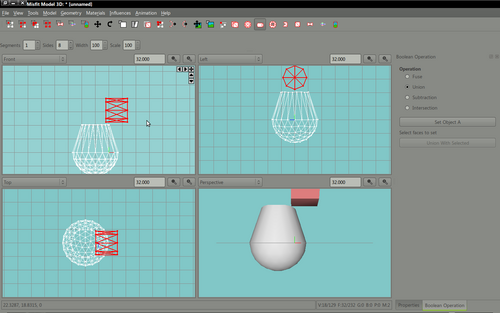
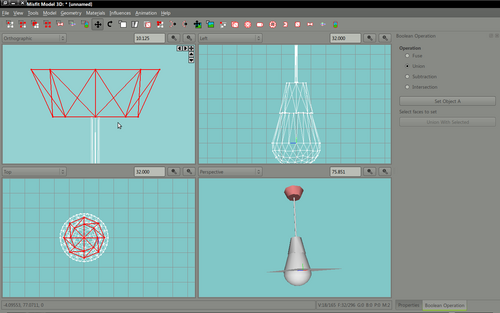
Create a cylinder and select the rotate tool. Press shift while you rotate (shift imposes a grid on movement and will rotate in 45 degree steps). Move and scale the cap so it sits closely on the top of the bulb, this may take a few minutes - it's worth spending a little time at this stage exploring the controls. Eventually your cap will fit the top of the bulb. We now need to scale the top row of vertices to give the cap a more realistic shape. With the vertex selection button selected drag and capture the top row of vertices and use the scale button to create a more interesting cap shape.
|
Create the wire
|
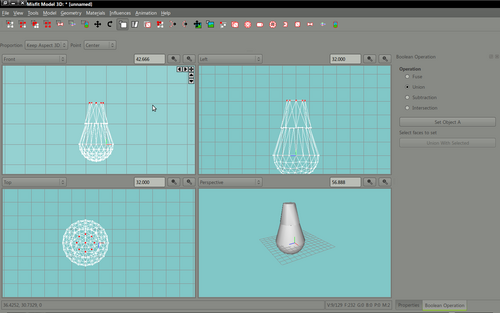
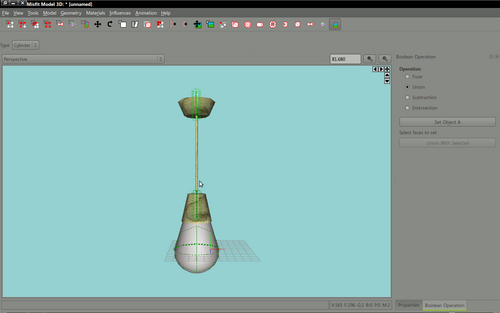
To create a wire, use the same principle as for building the cap. Create a long, thin cylinder Rotate this and align it with the bulb cap. Drag the vertices or mesh around until you're happy with the result. In the same manner as you created the cap and the wire (with a cylinder) create a mounting plate Again bevel the shape slightly by scaling the vertices at the bottom of the mounting plate. |
Applying textures/materials
|
Earlier we created 2 materials
We also created 2 material groups
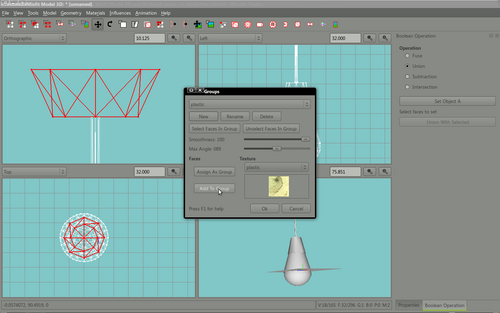
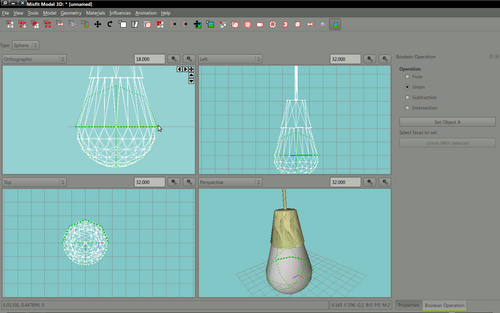
Select the entire celing mounting plate (use the select connected mesh button and click the mesh). Click the materials option on the main menu and select edit groups Select the plastic group and click the assign to group button, this will imediately texture the ceiling mounting plate with the plastic group texture. In the same way texture the wire and the bulb cap with the plastic group. Use the bulb group texture for the bulb mesh. The overall effect at this stage might be a little messy, none of the textures have been wrapped correctly to the mesh. In order to match the shape of the mesh to the texture applied we'll use the projection tool. This is activated by the right most button, looks like a tube. Click the create projection button and select a type of Sphere from the type dropdown. With your mouse in the very center of the bulb drag out a sphere of roughly the same size as the bulb - this will wrap the bulb texture around the bulb object. Create new projections (of type cylinder) for the bulb cap, the wire and the ceiling mounting plate. Your finished model should resemble this ...
|
Save and export your model
|
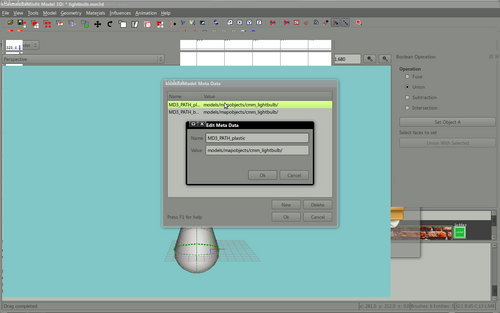
Before saving or exporting the model we first must set up the exporter so that it is aware of the model path and where it's images are. To do this we must create a new meta data key pair which describes each of the material groups we've used in our model. In this example we used 2 material groups
From the model menu select Model Meta Data. Create a new item and enter the following name : MD3_PATH_plastic value : models/mapobjects/cmm_lightbulb/ Type these values EXACTLY as the example above. Create another item and use the following values name : MD3_PATH_bulb value : models/mapobjects/cmm_lightbulb/ Save the model in the path mapping/models/mapobjects/cmm_lightbulb with the filename lightbulb,mm3d (note - this is the native extension for misfit models). Now, from the file menu - select export Save the export in the same folder with the filename lightbulb.md3 |
QC file
|
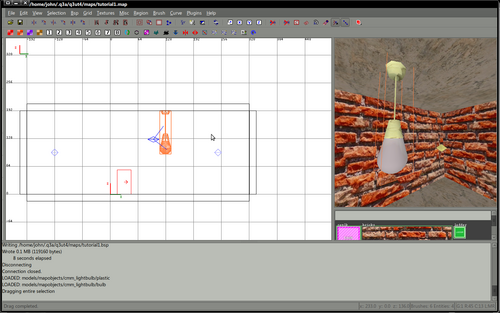
Congratulations, you just made a md3 model that is ALMOST ready to be used in your game - in fact at this stage you could add a misc_model to your map and select this as the model and in game it would almost certainly work - however the editor needs a little more information. We need to create a QC file to help the editor locate it's images/shaders. Create a new textfile in the same folder as your model (mapping/models/mapobjects/cmm_lightbulb) named lightbulb.qc (the same name as the model) Add the following to the file. $model "models/mapobjects/cmm_lightbulb/lightbulb.md3" $frames 1 30 $flags 0 $numskins 0 $mesh "models/mapobjects/cmm_lightbulb/plastic" $skin "models/mapobjects/cmm_lightbulb/plastic.jpg" $flags 0 $mesh "models/mapobjects/cmm_lightbulb/bulb" $skin "models/mapobjects/cmm_lightbulb/bulb.jpg" $flags 0 Save this file, load up radiant. Right click in the 2d view, select misc->misc_model from the entities list. For the model itself, select the lightbulb.md3 file from the mappingmodels/mapobjects/cmm_lightbulb folder. A lightbulb!!
|
